Silhouette storyboard.
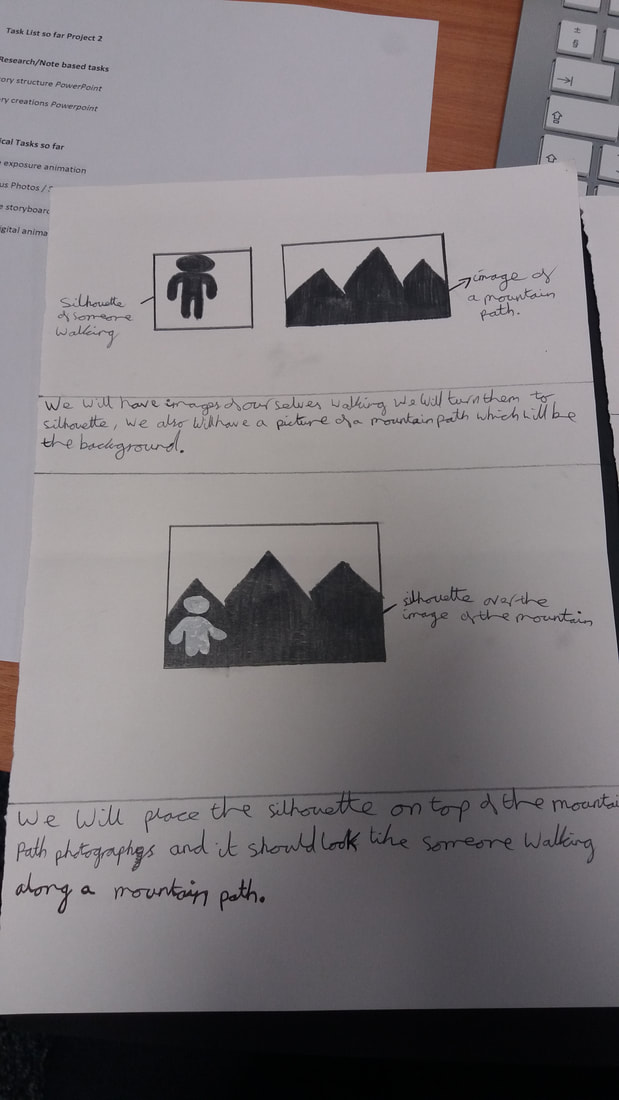
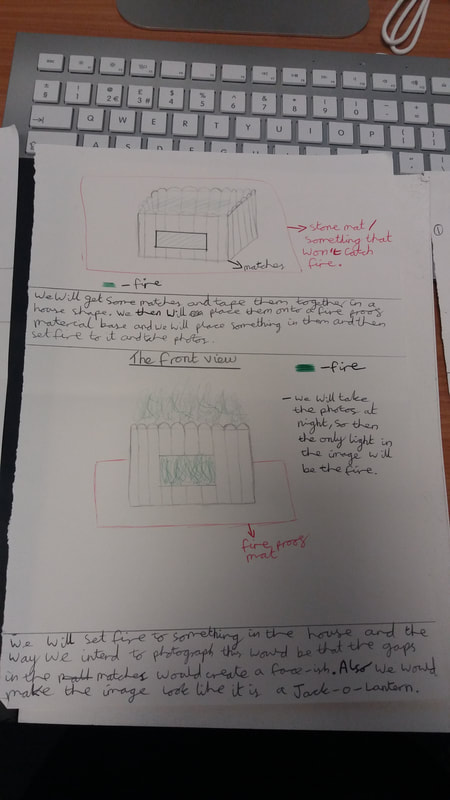
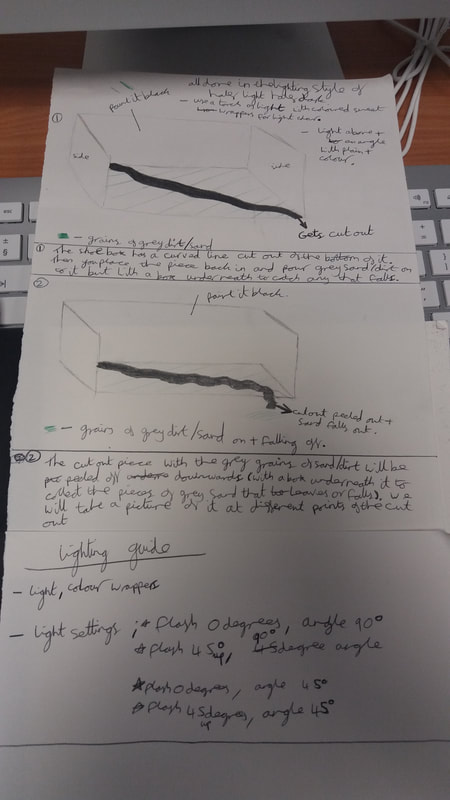
For my silhouette story, I decided to do the story of a journey. So on the left picture it shows someone (silhouette) walking along a mountain. The middle image shows a house on fire and the picture on the right will show the floor cracking and bits of jewels and stones falling into the gap.
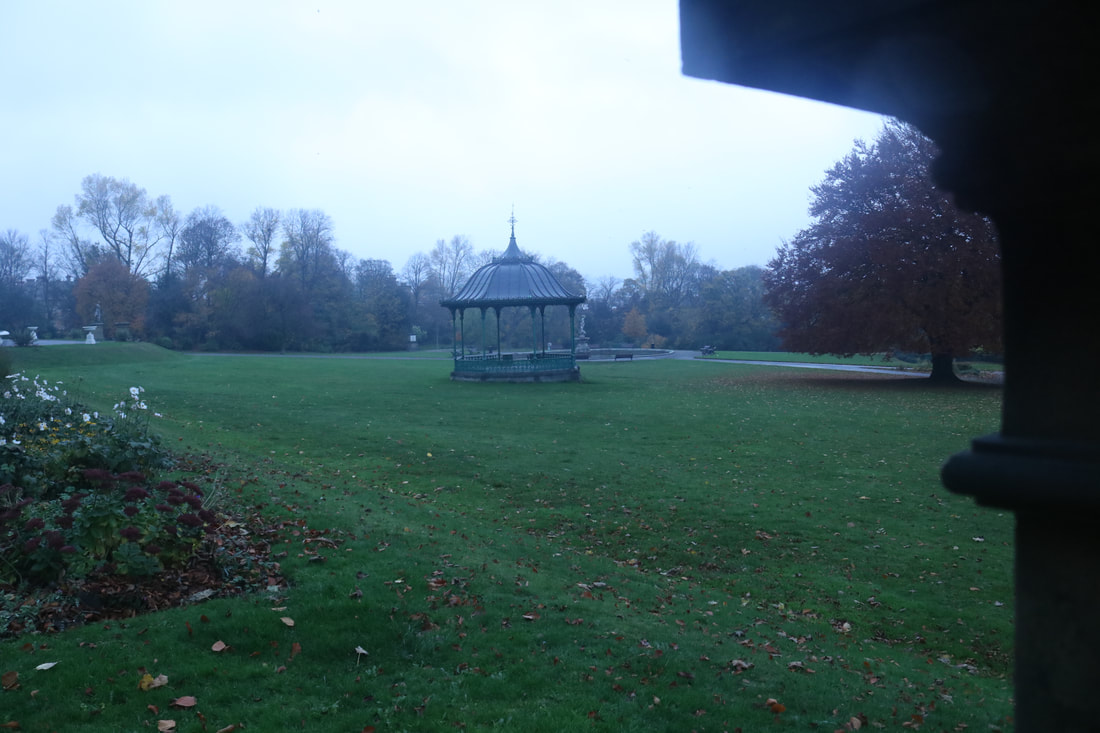
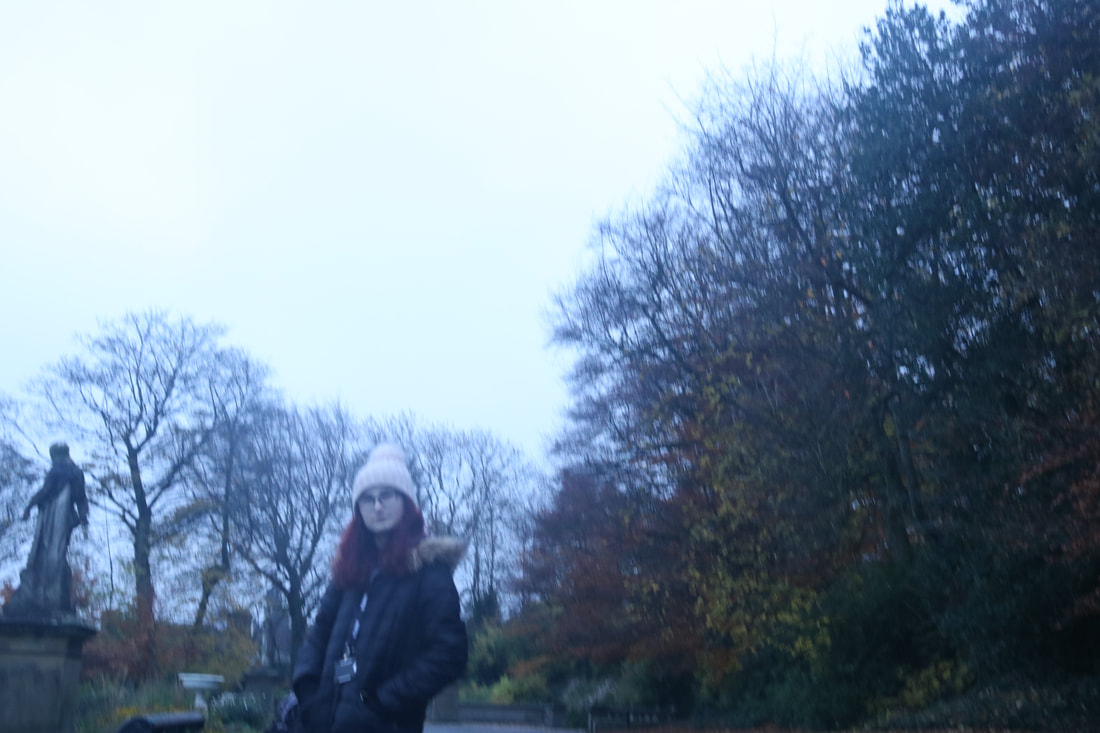
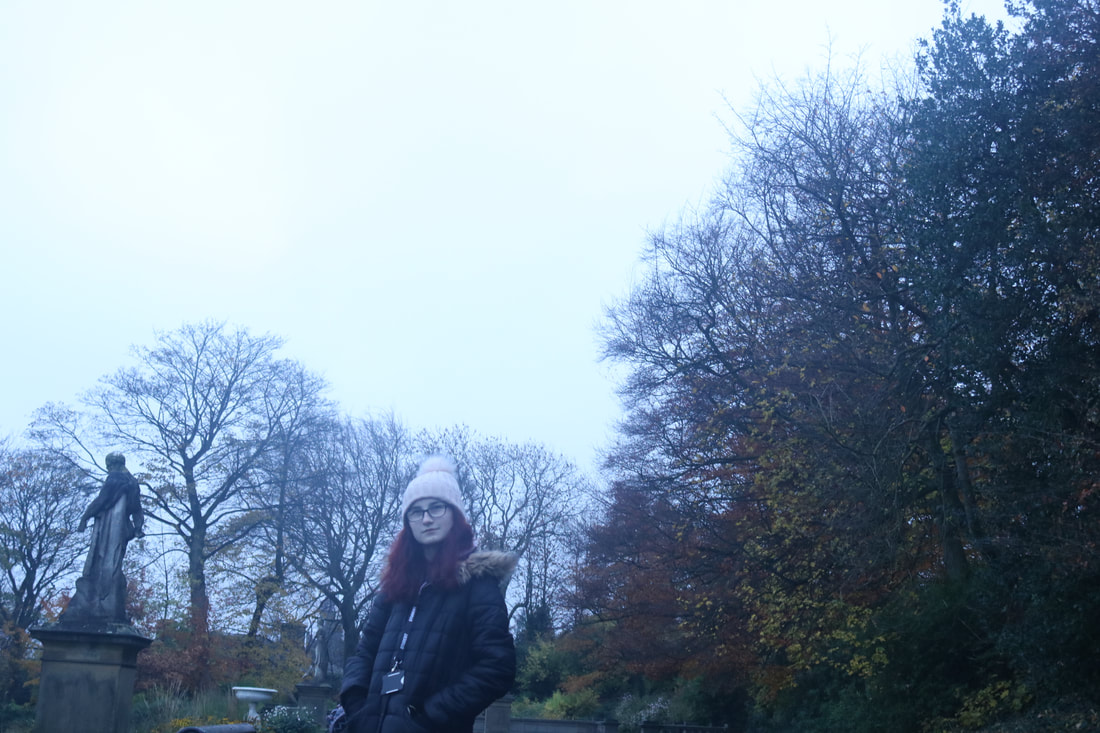
Silhouette photos:
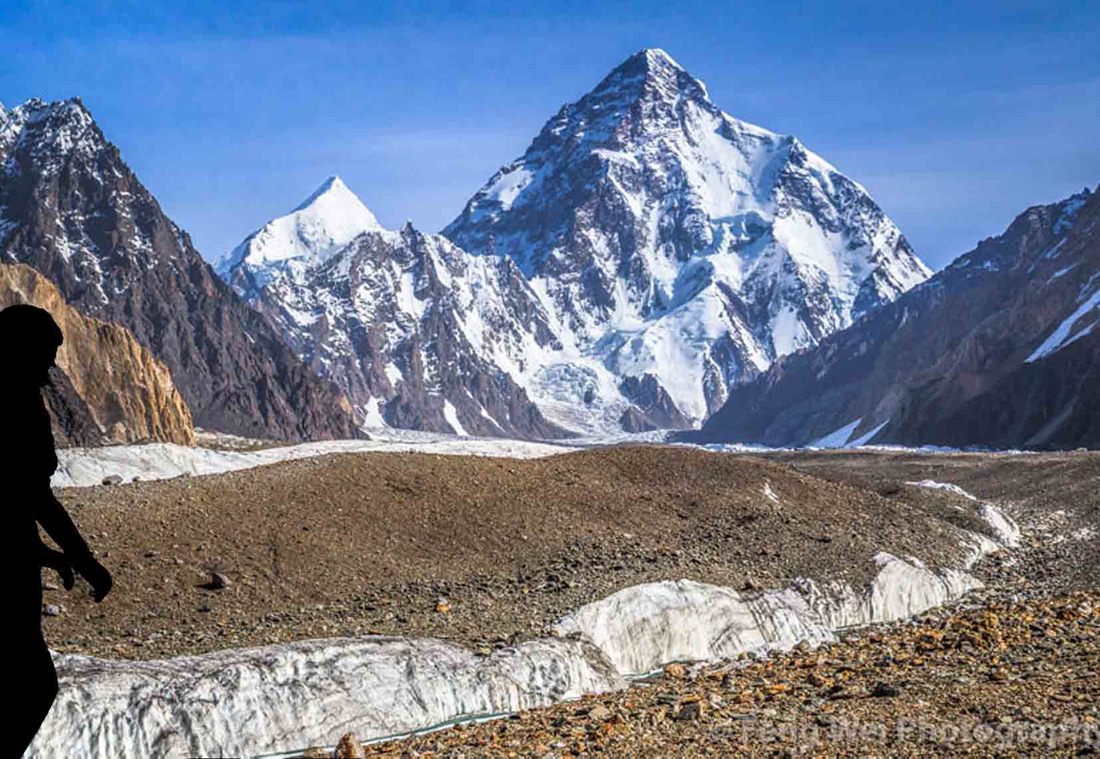
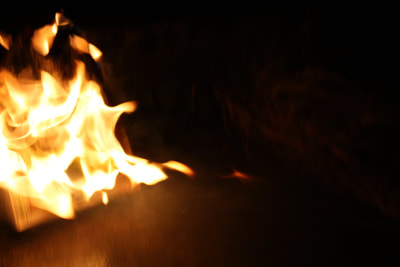
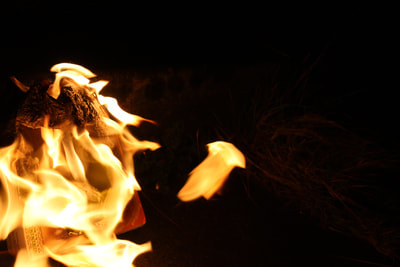
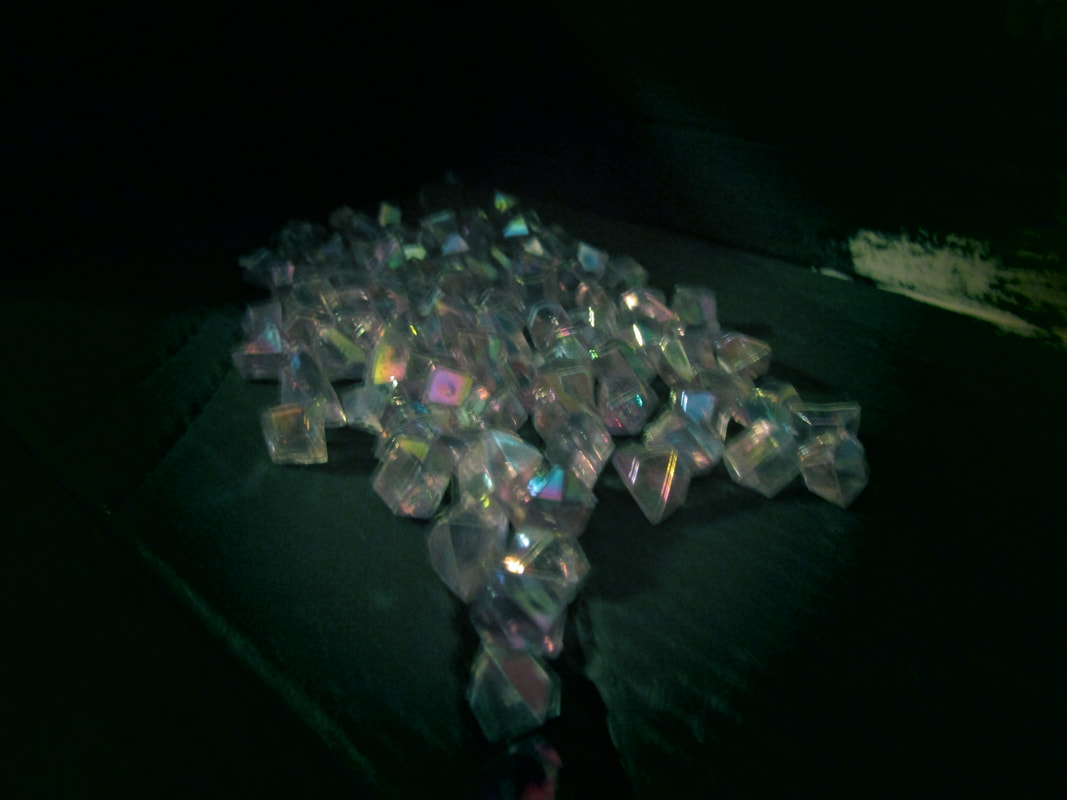
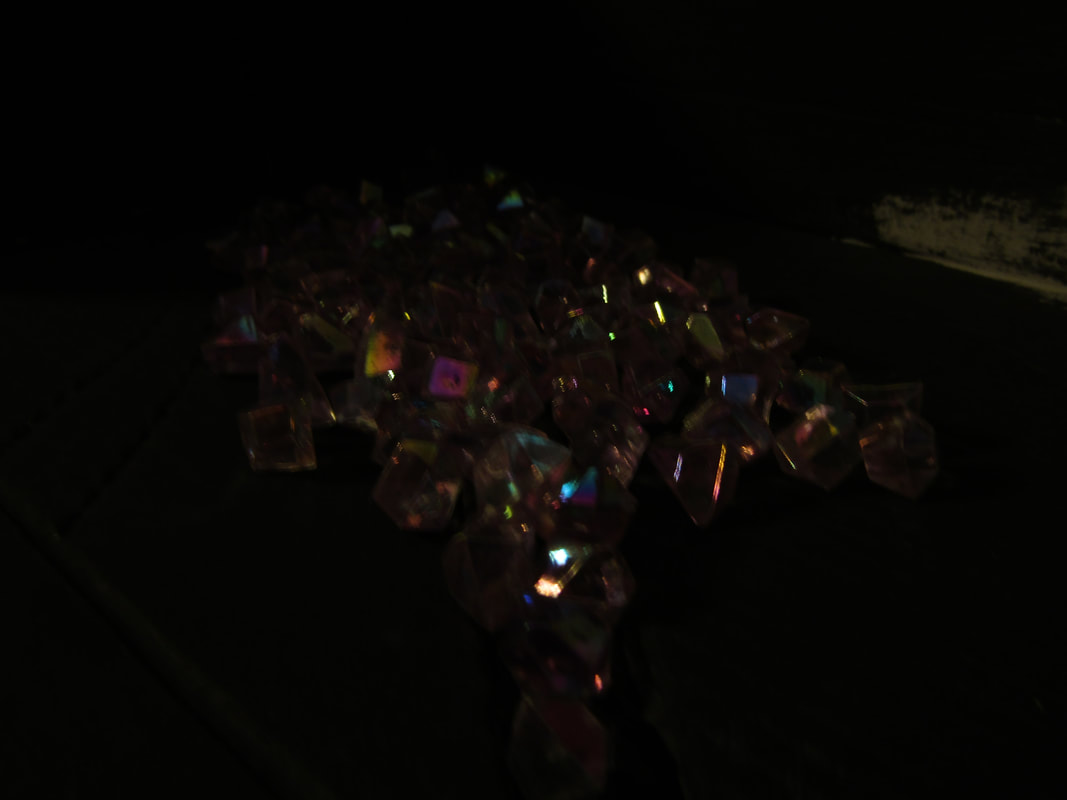
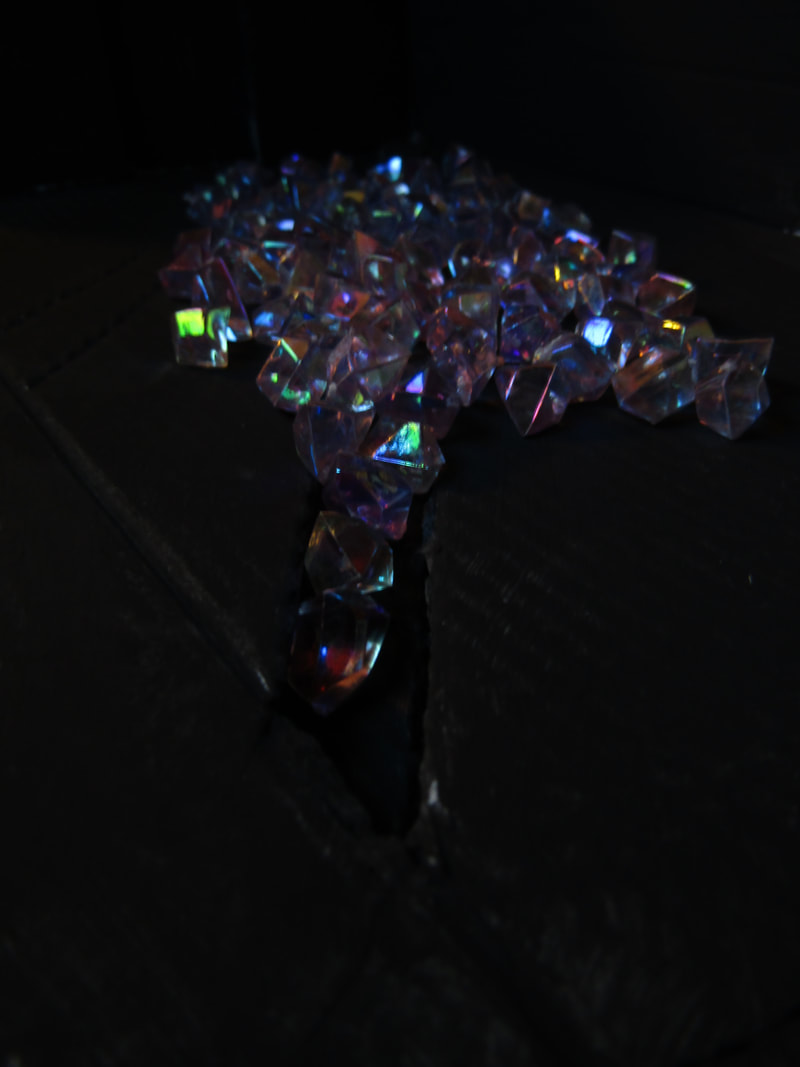
The photos are inspired by a film-The Hobbit. all the people in the group liked and decided that the photos would be similar to this, so we had again one person (silhouette) on a mountain, a house on fire and the floor caving in and jewels and stones falling in the crack that has been created.
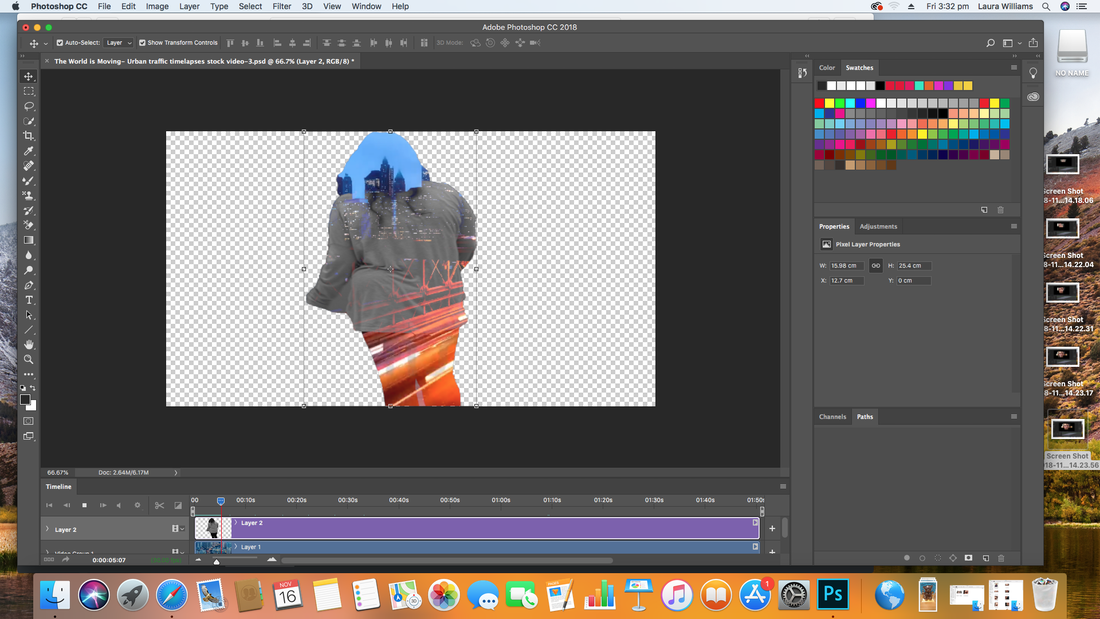
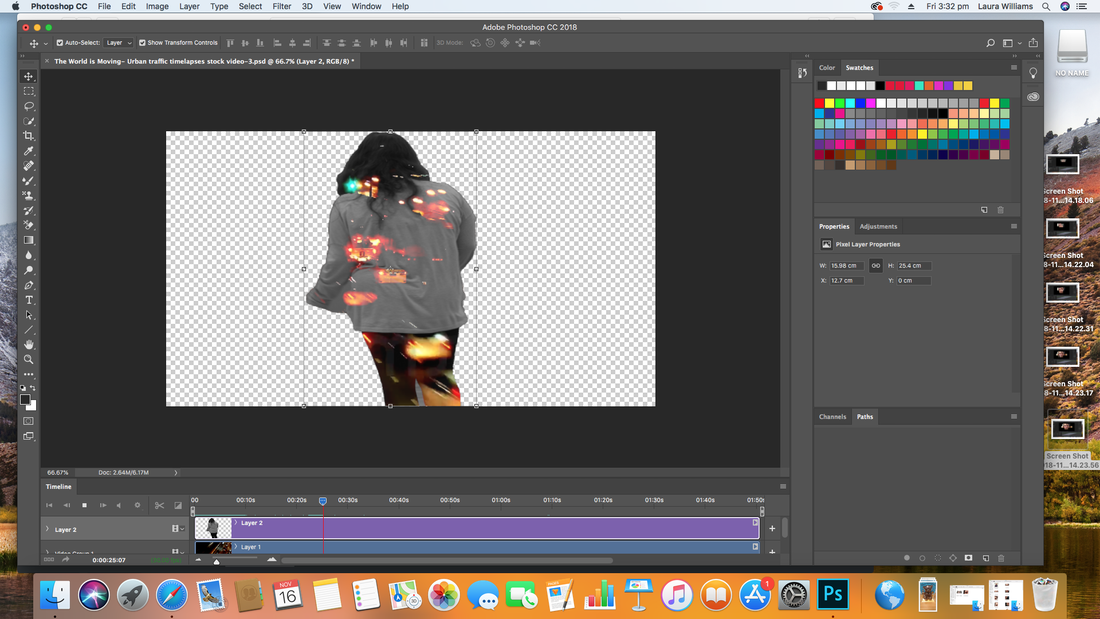
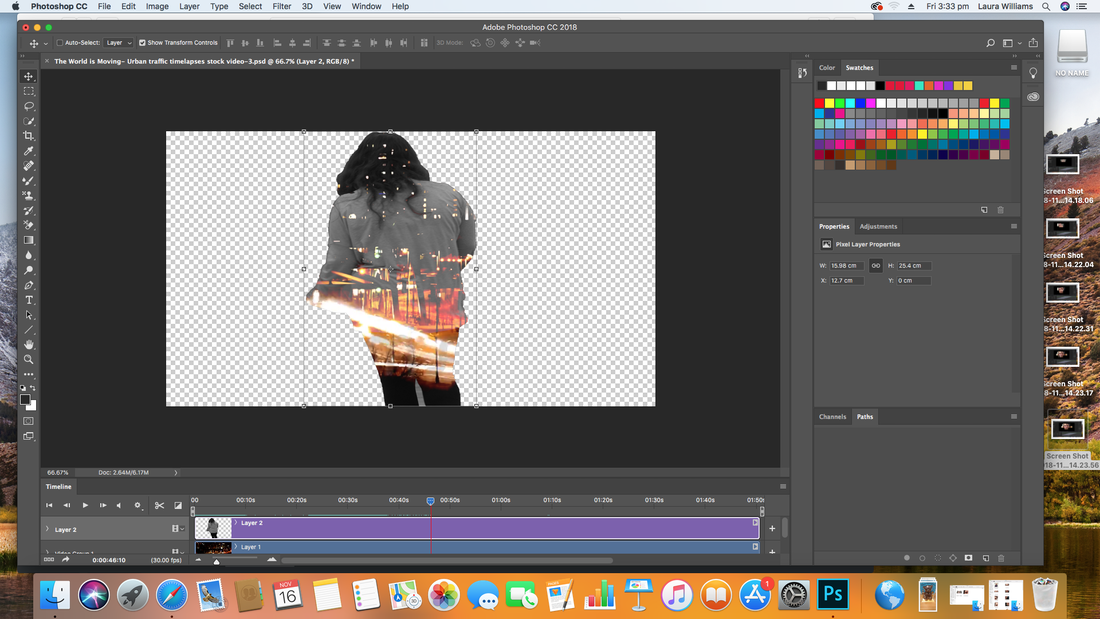
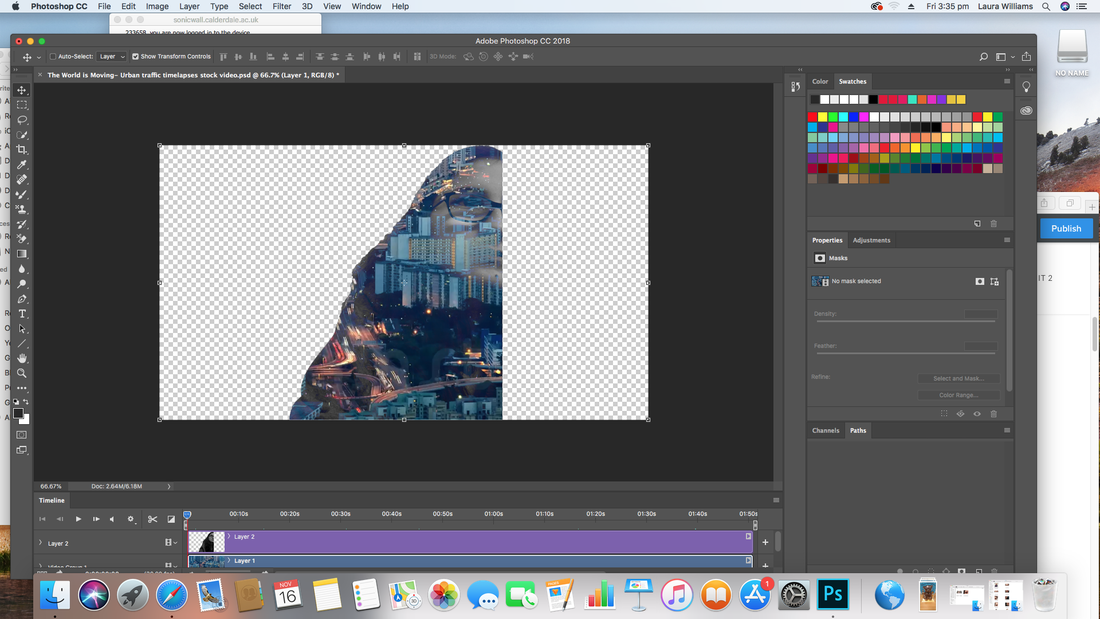
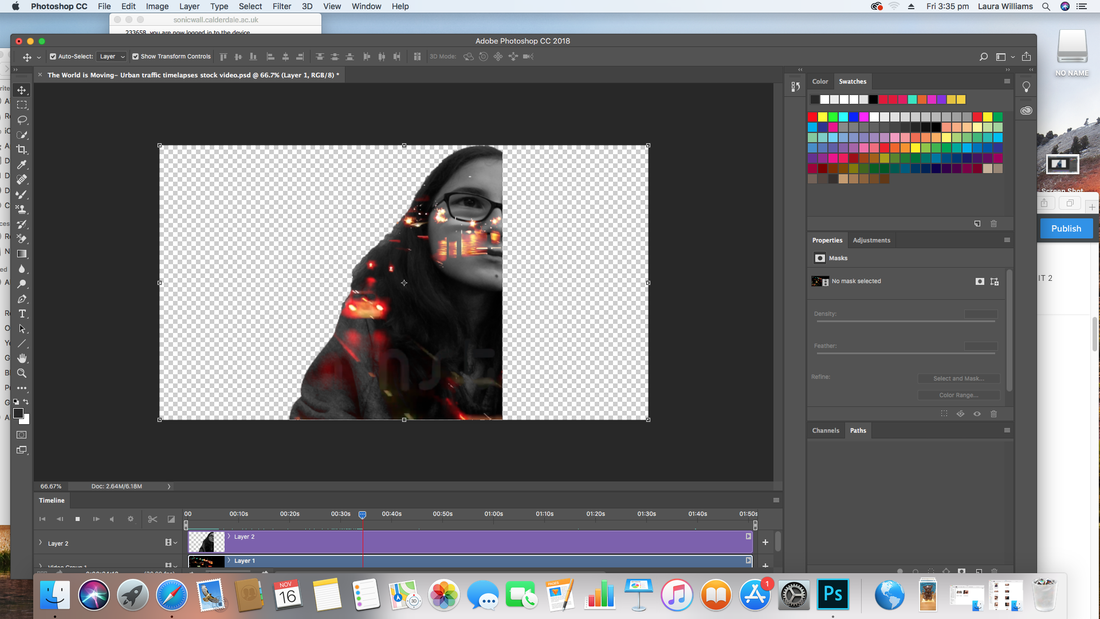
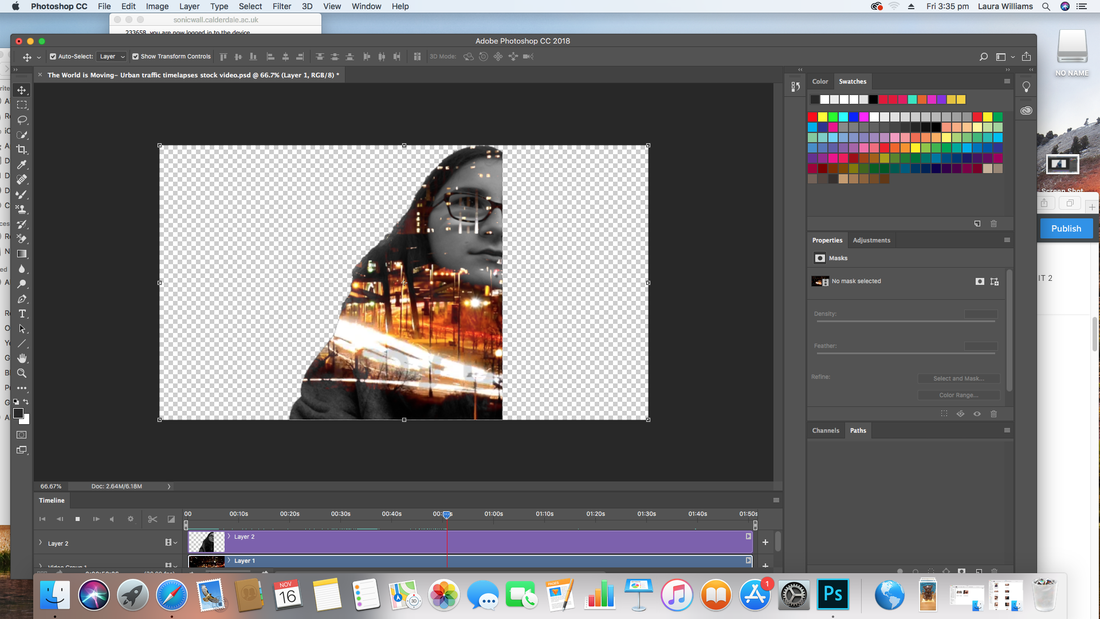
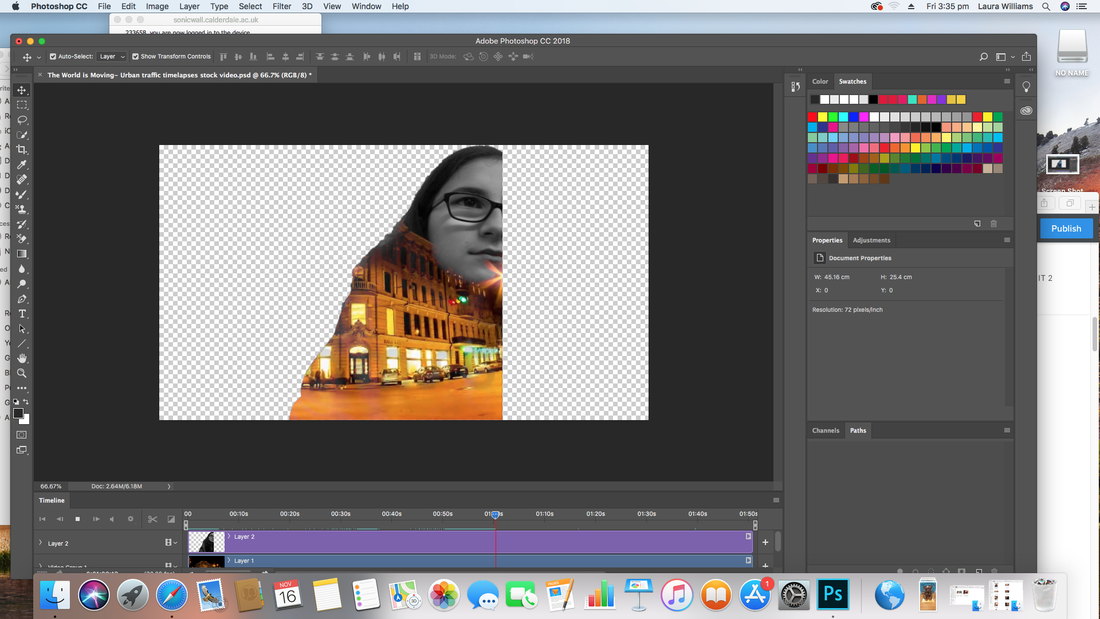
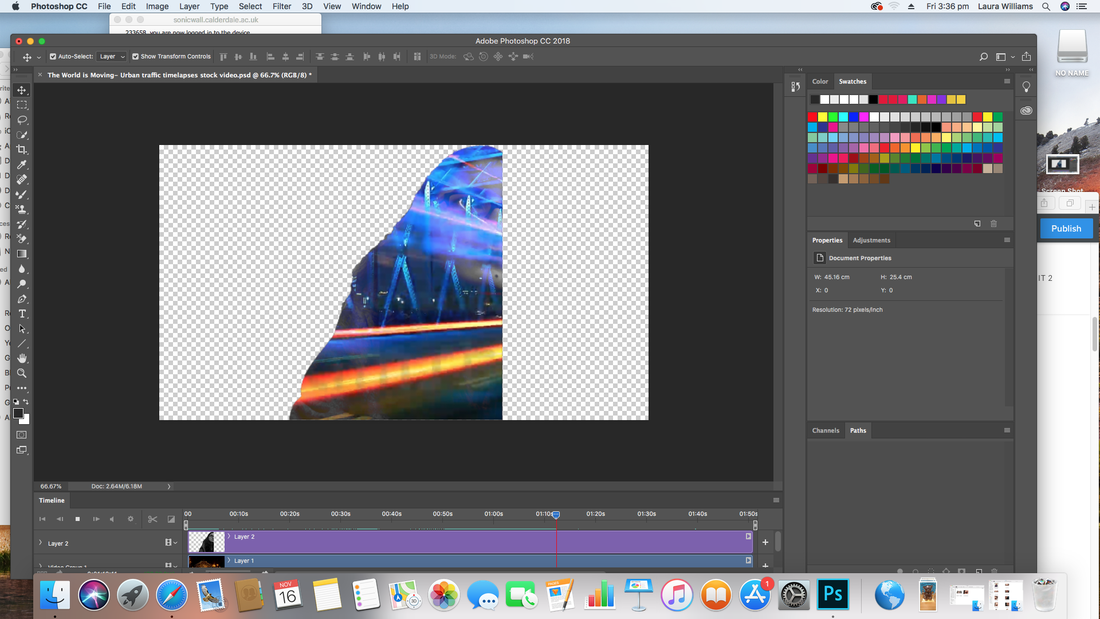
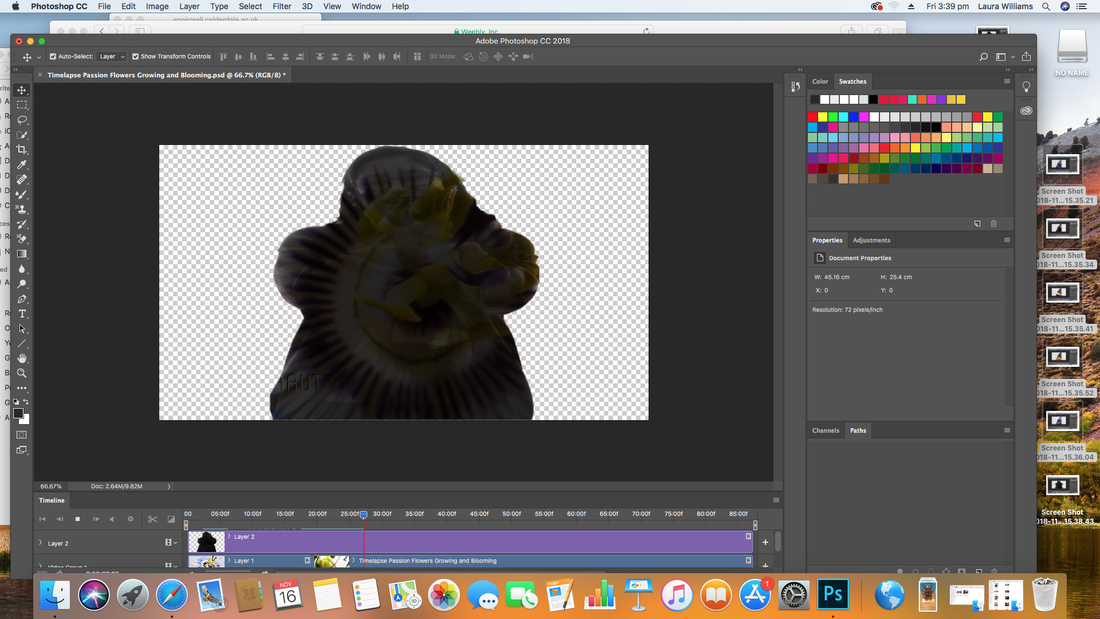
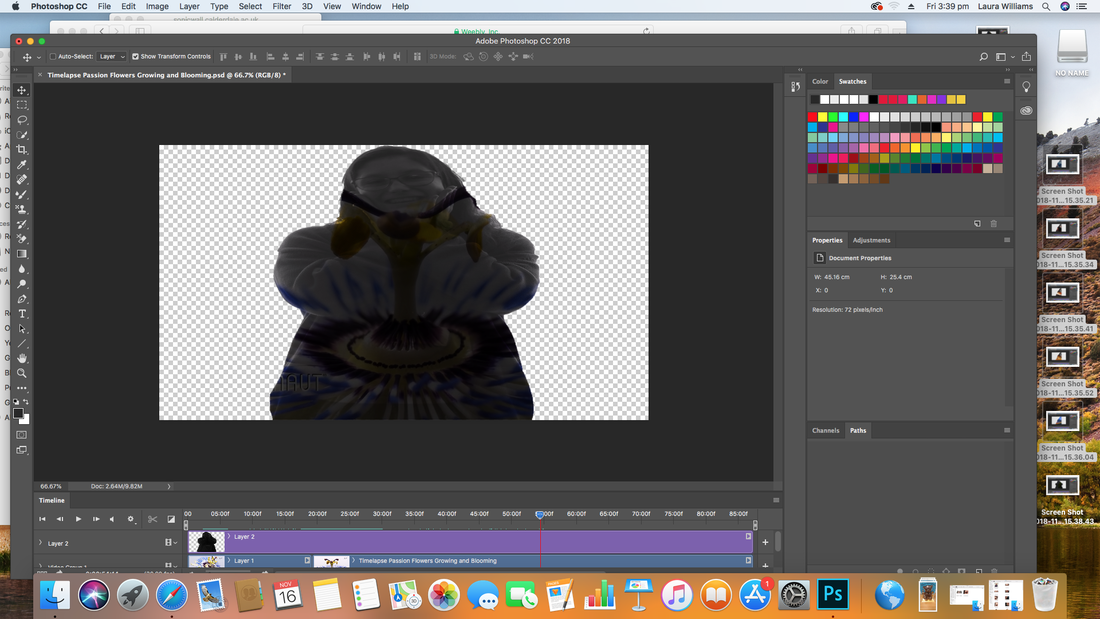
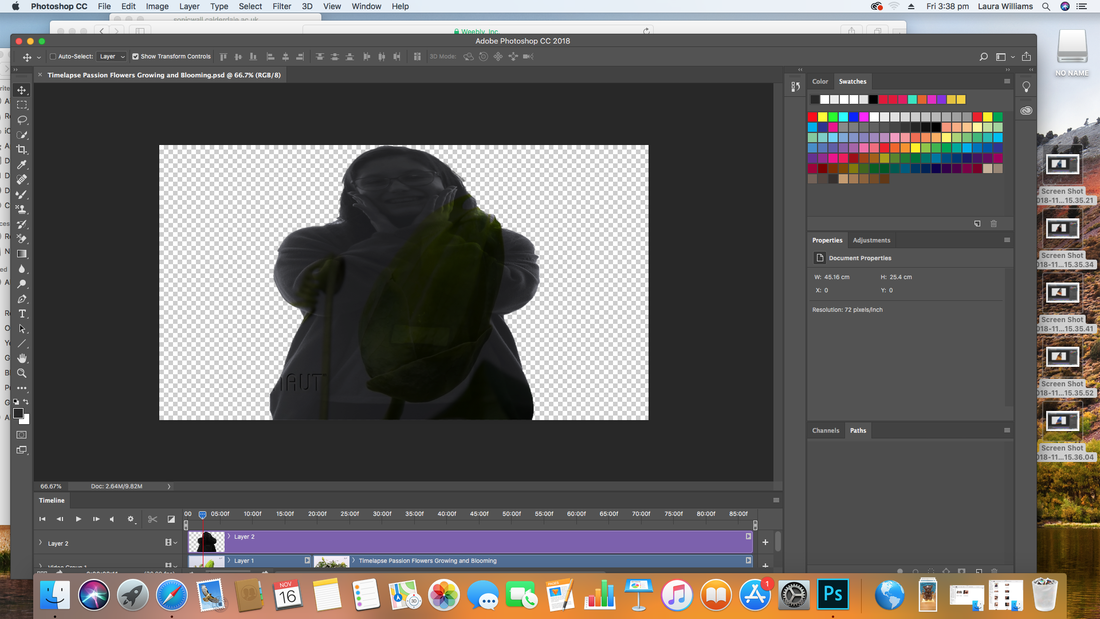
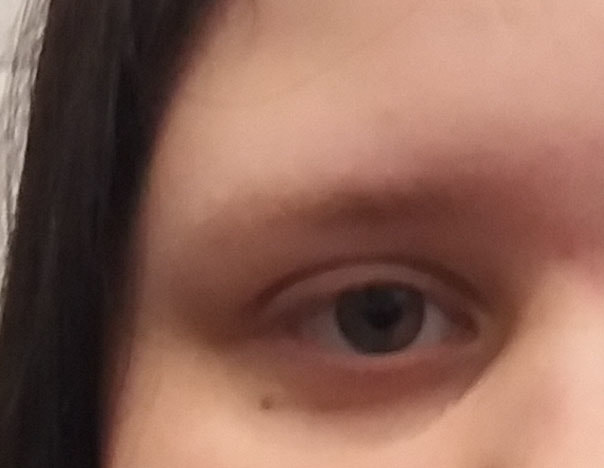
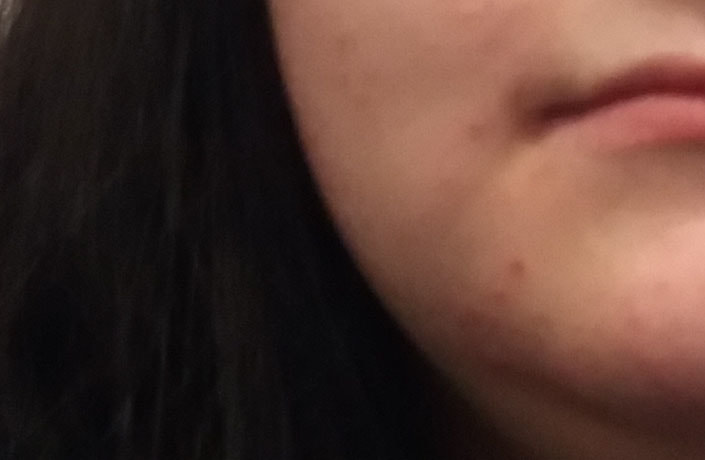
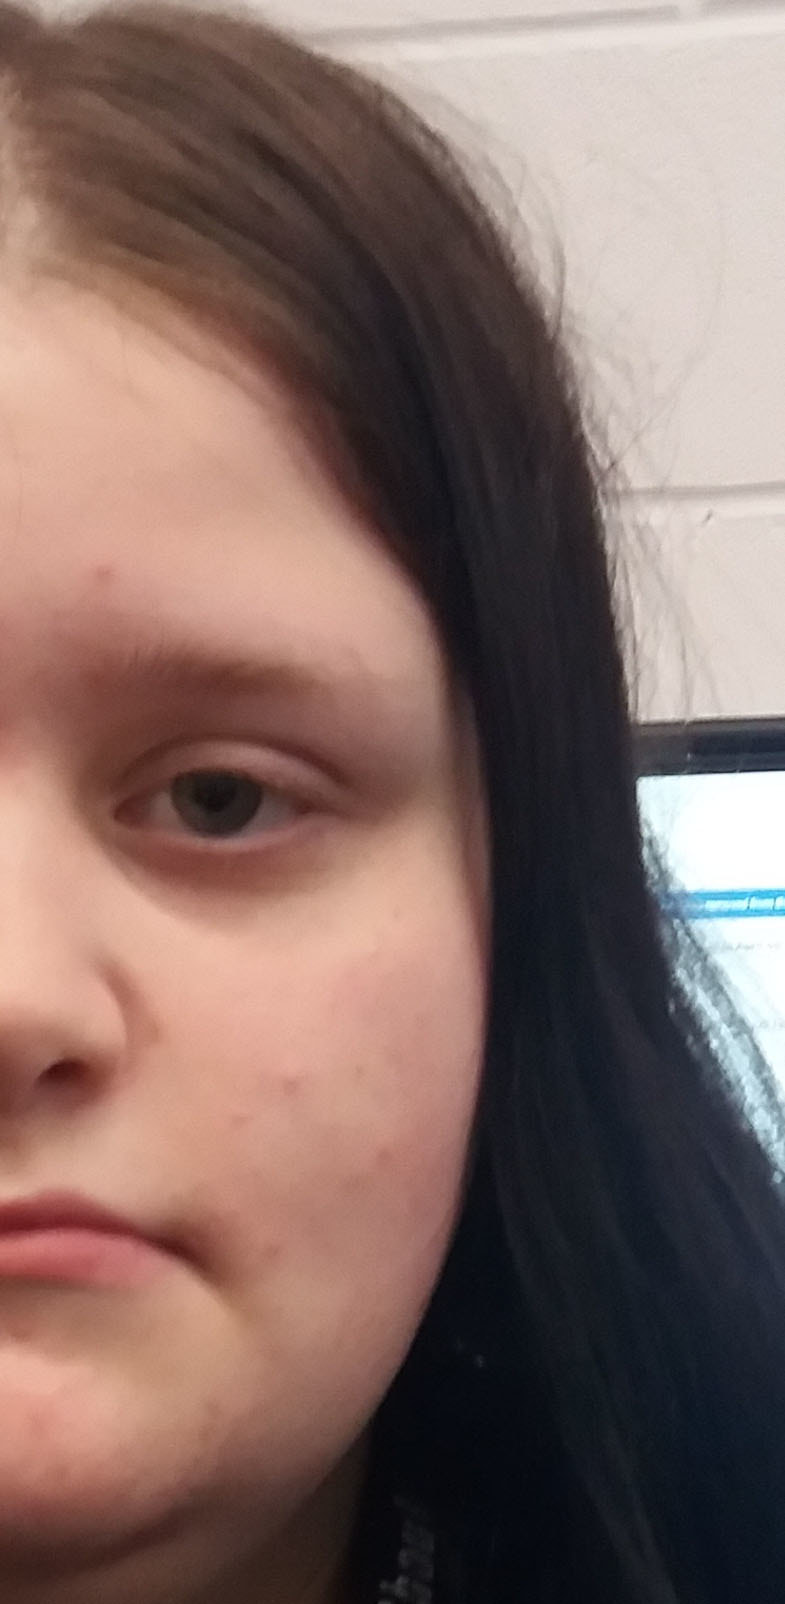
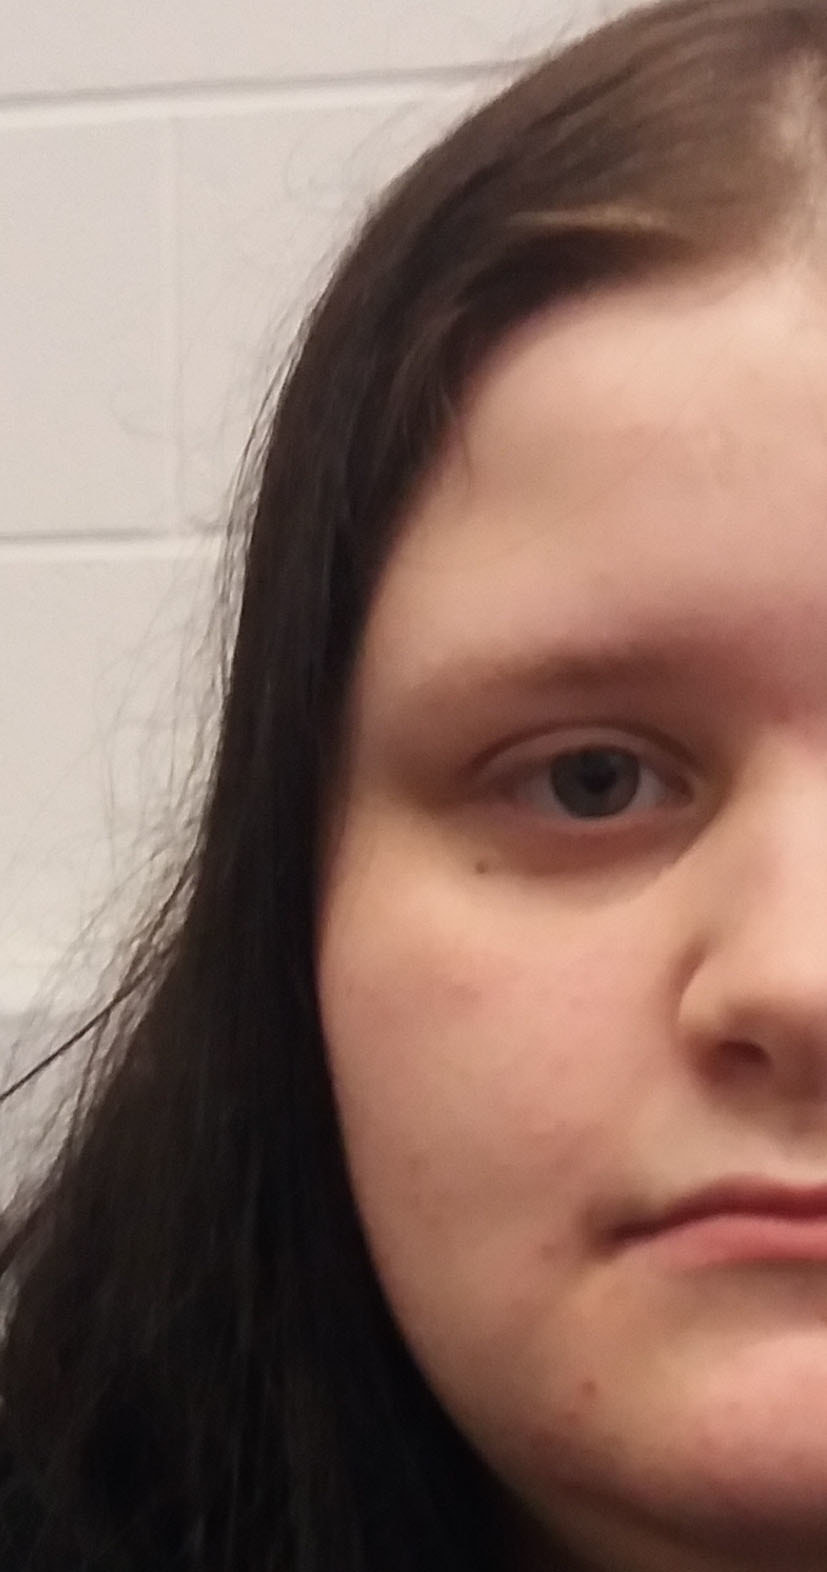
Double exposure animation.
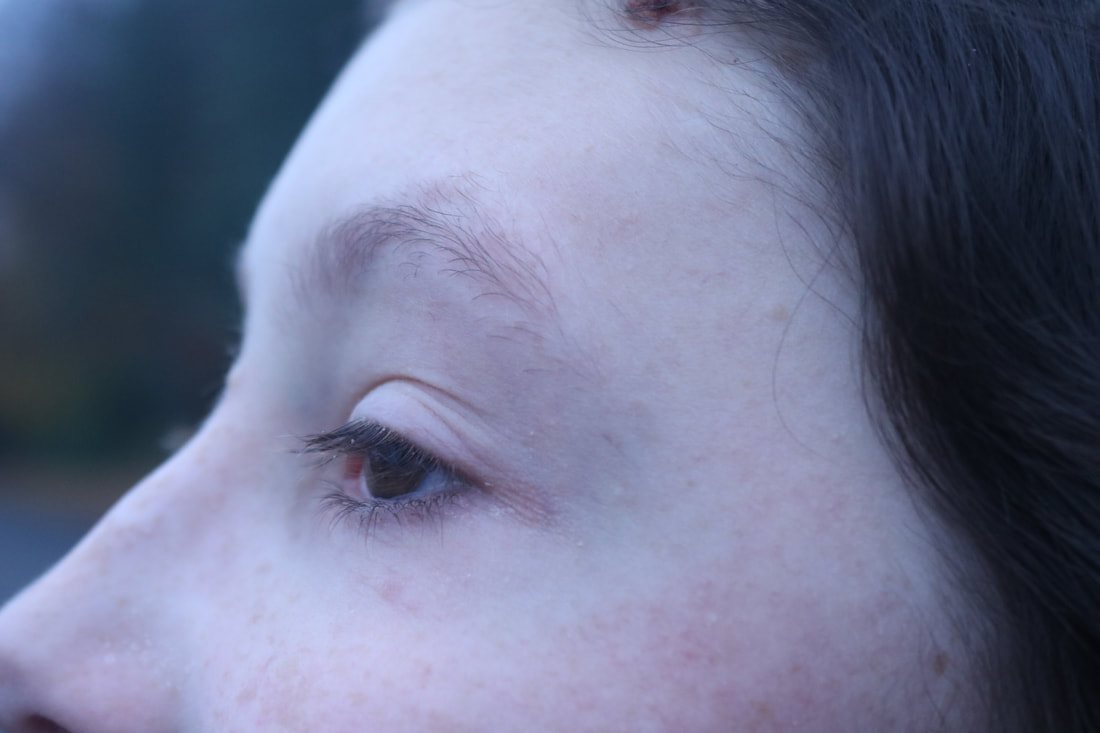
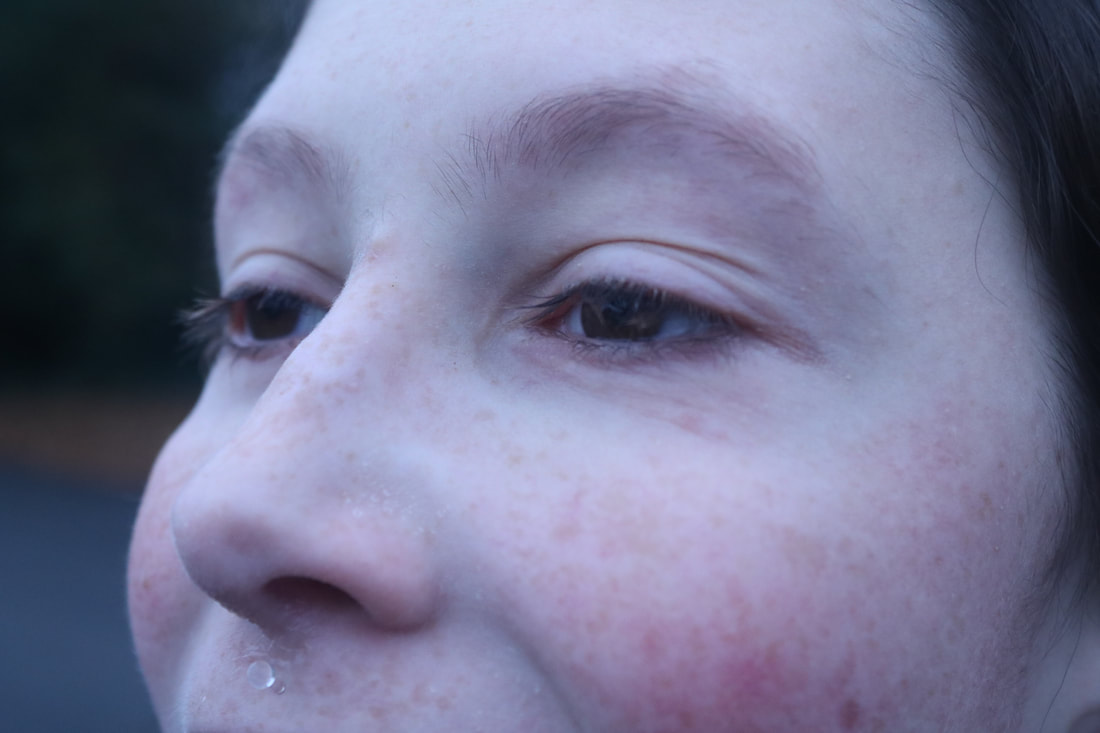
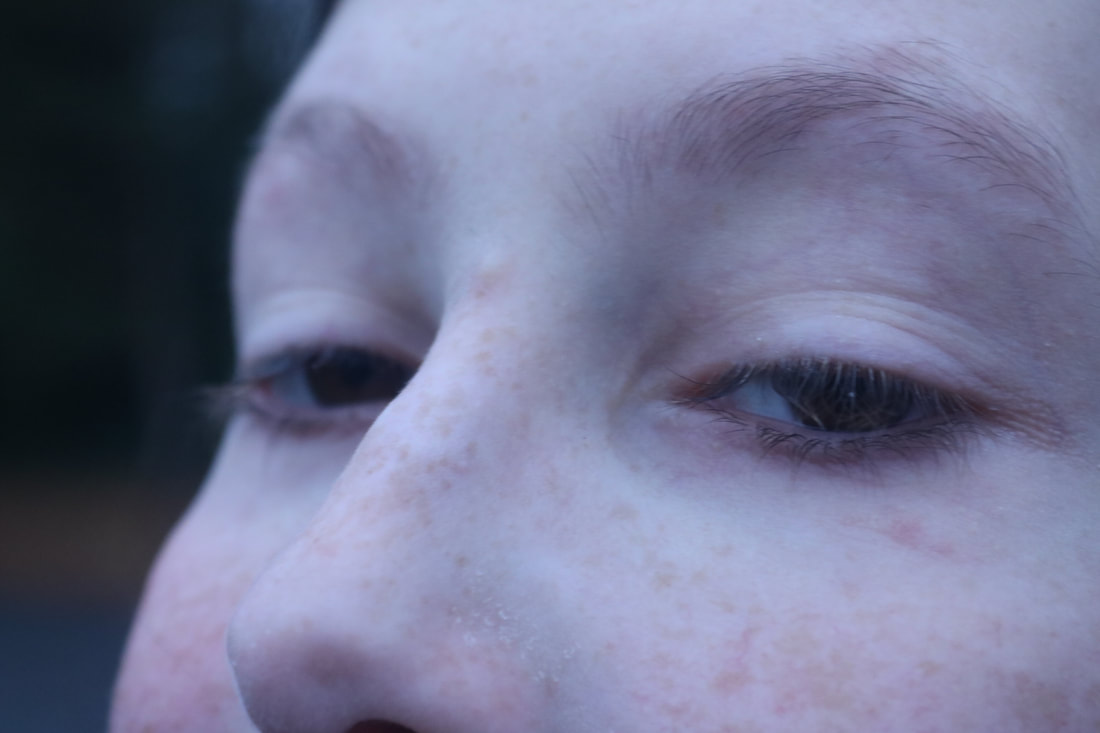
I took photographs of a portrait of myself or someone else, I opened it up in photoshop then I adjusted the contrast and changed it to black and white. I downloaded a time-lapse video. I imported it into photoshop set up the layers in order and made the video the top layer, you can mask out if you wanted. Open the time-lapse video to see if it will play in photoshop. Adjust the portrait image over the time-line to match to the film or to a certain length. Then use the blending modes to blend the video in with the portrait. Test that it works and then export it.


Stop motion animation.
I drew images of stick men in the corner of a piece of paper and I took photographs of them. Each picture I drew I would change where the hands or legs were placed so it looked like it was moving. I then selected the images I took and imported them into after effects and made them an animation by changing the length that they would be on the screen and I placed the image one after the other in order.
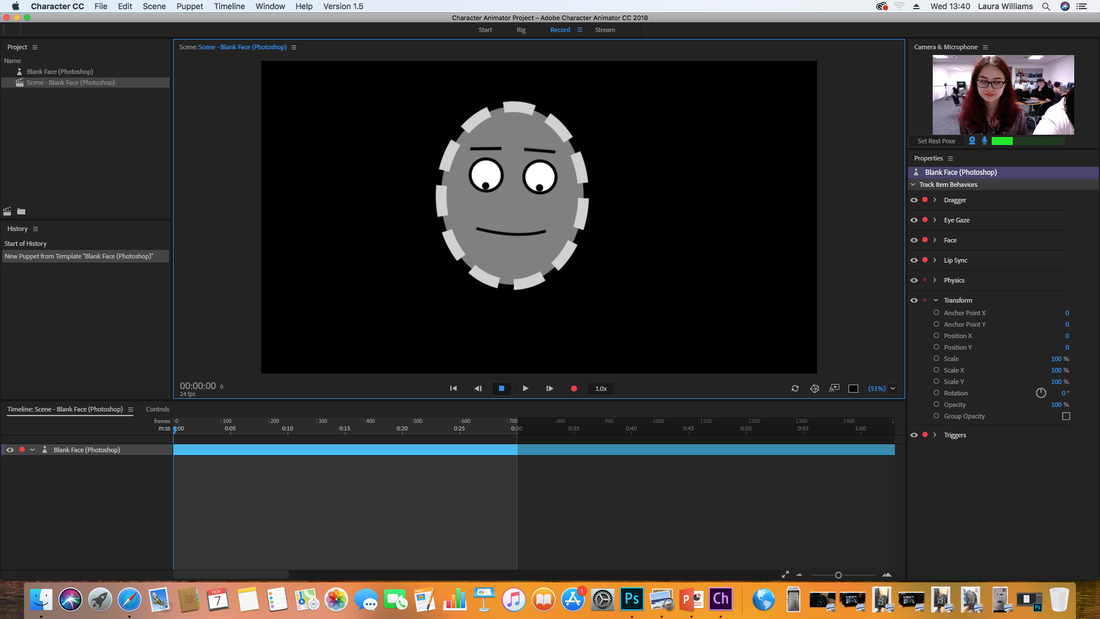
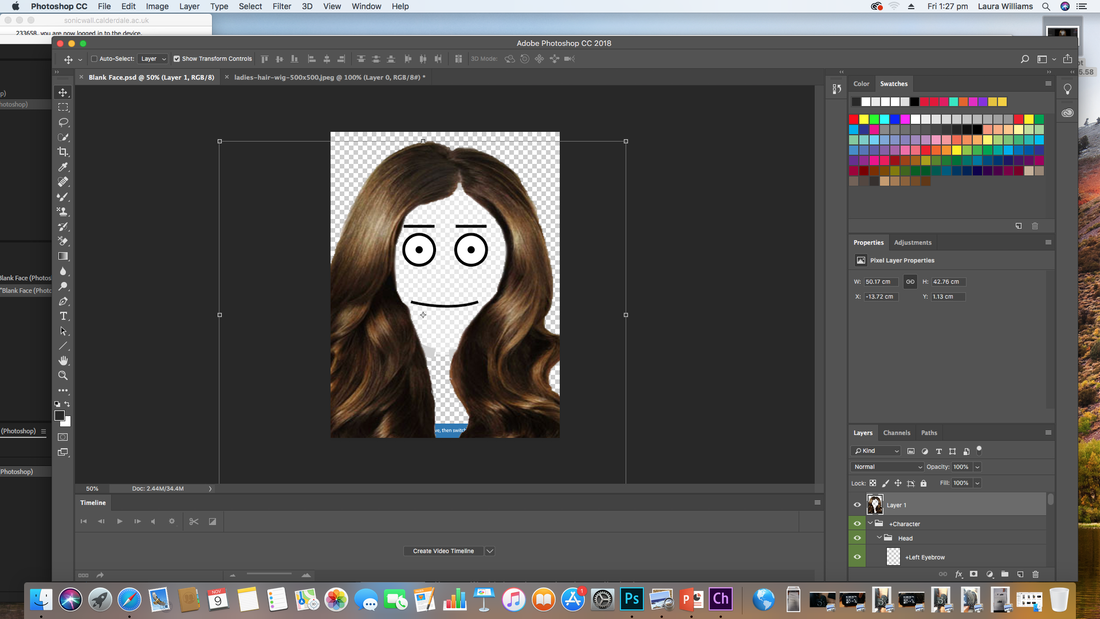
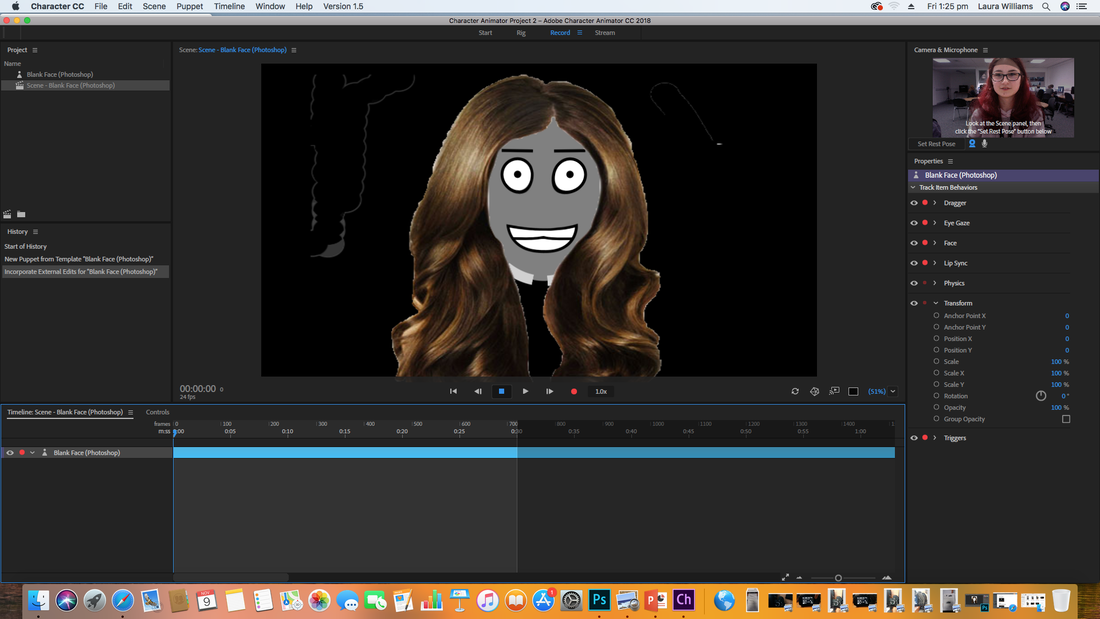
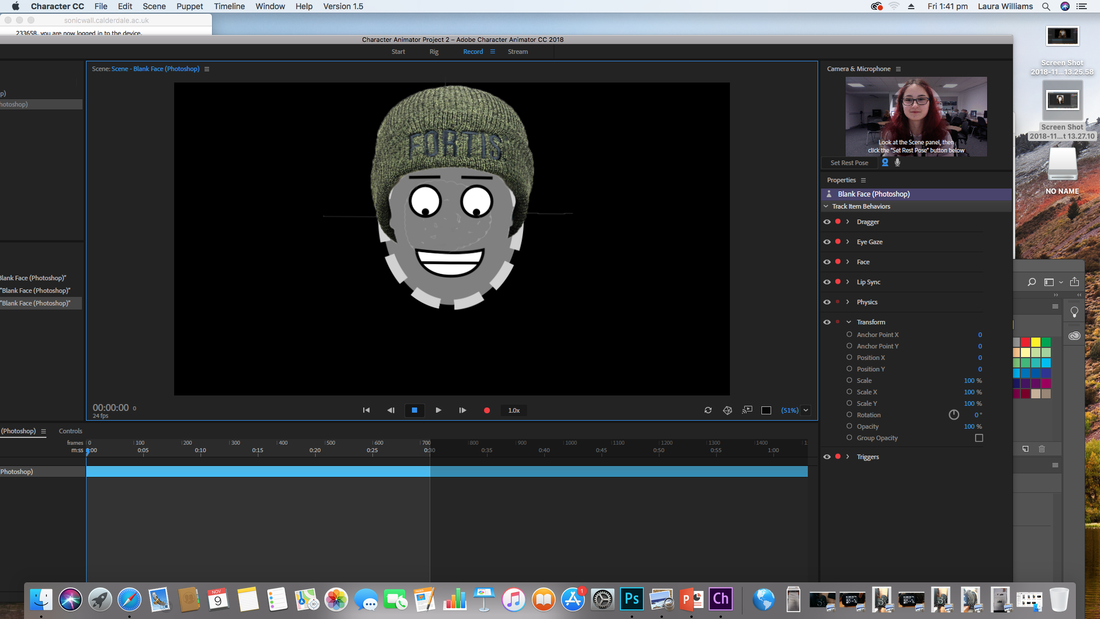
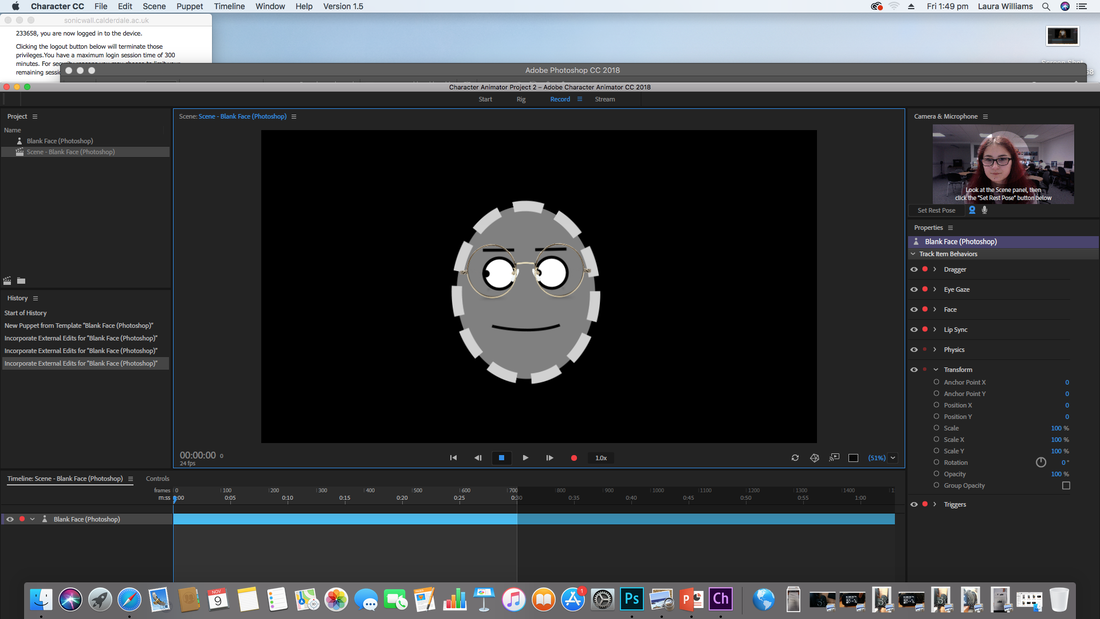
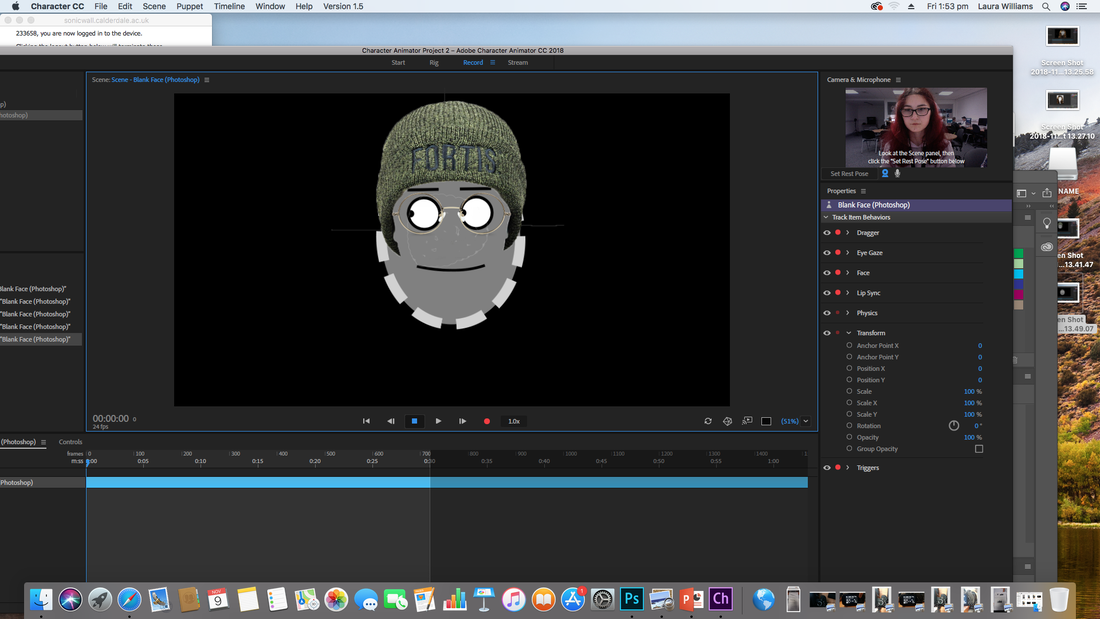
Character animation.
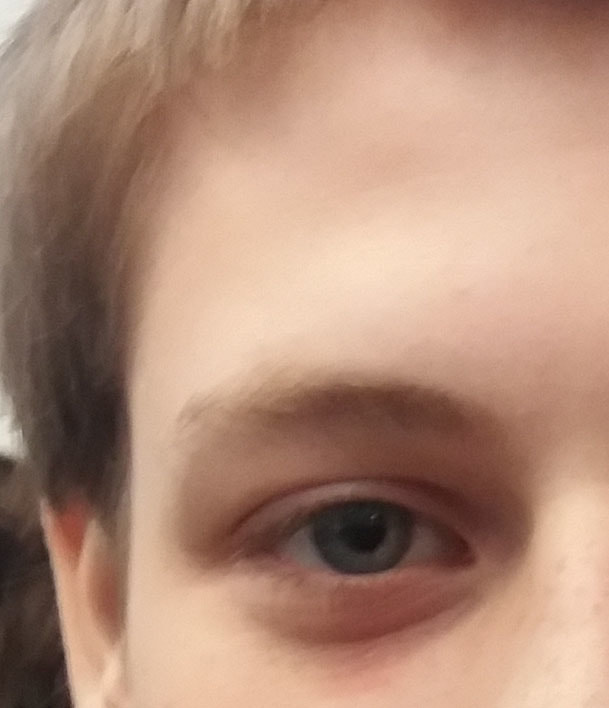
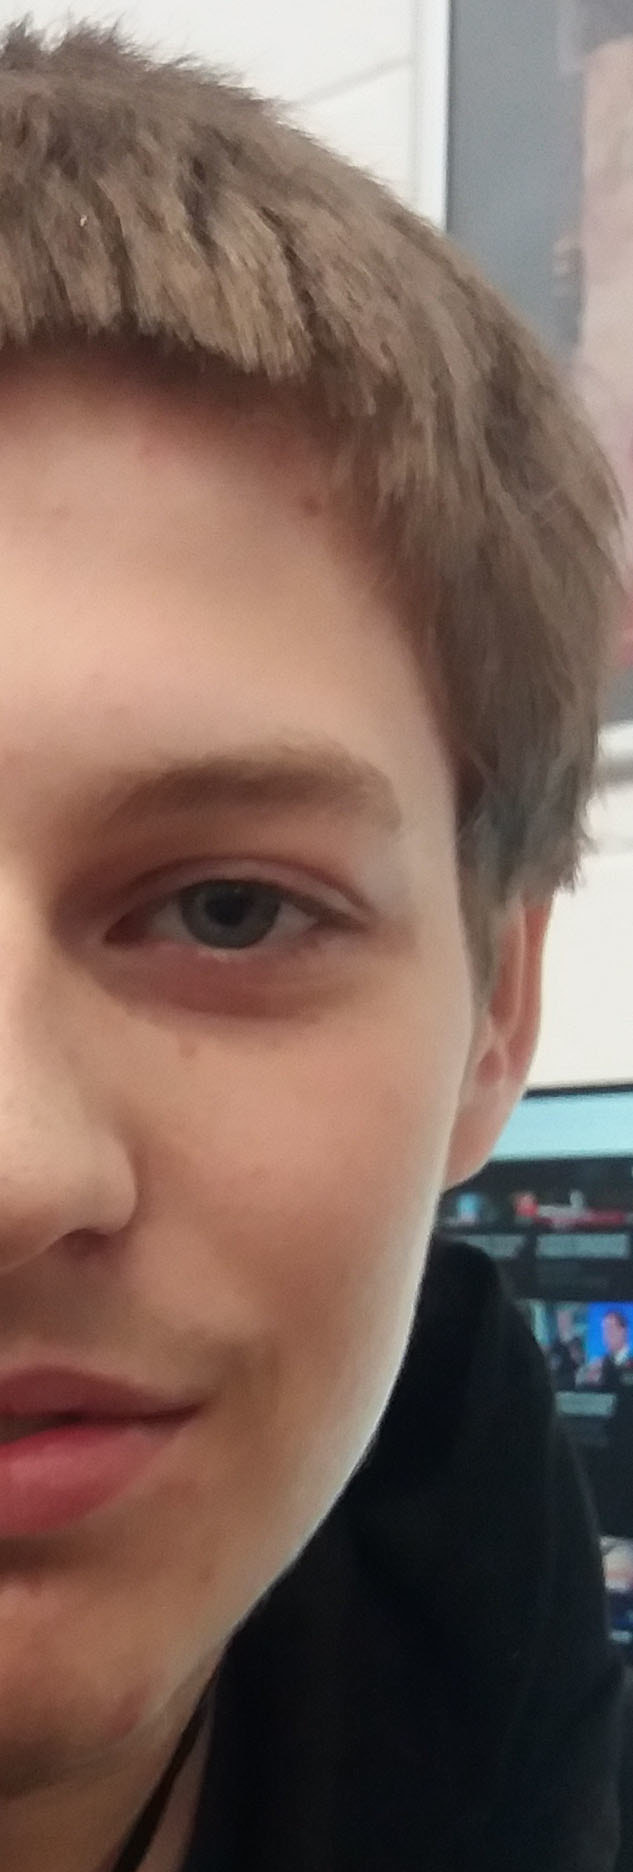
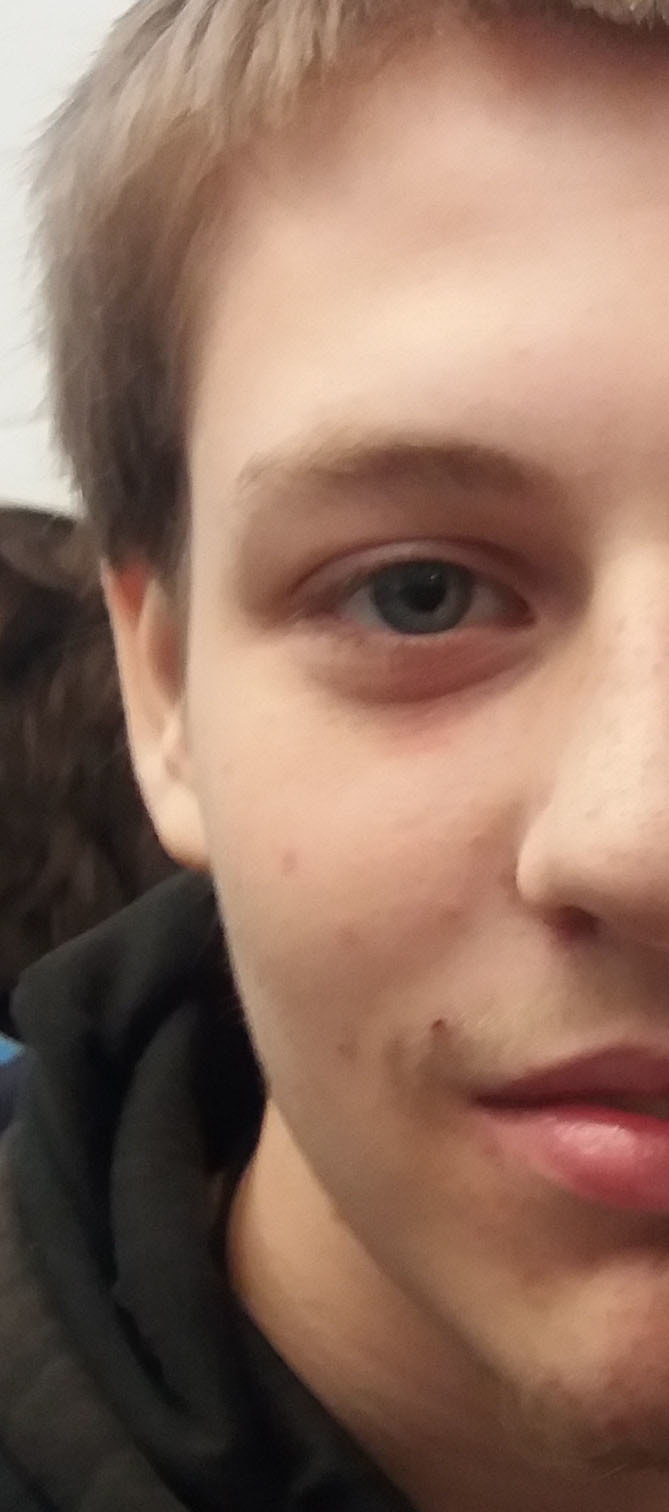
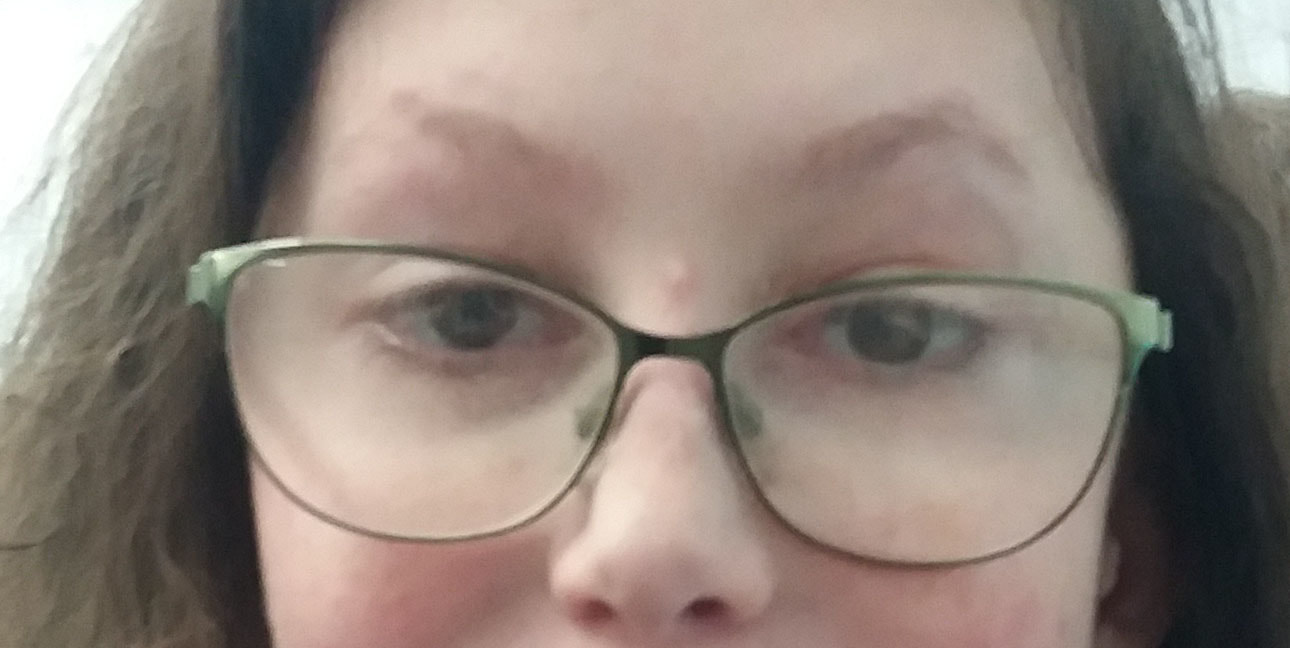
I opened character animator, then the face template in photoshop. Look at the layers in photoshop for the face. I identified the eyes layer, blink layer,pupil and etc. I didn't change these layers but you may want to, to create a specific face/emotion you can also add images off hats and glasses to the face. Save the document when you have done. open character animator, test the face movements with record mode this allows the webcam to track your face with red dots. Press record to record yourself.
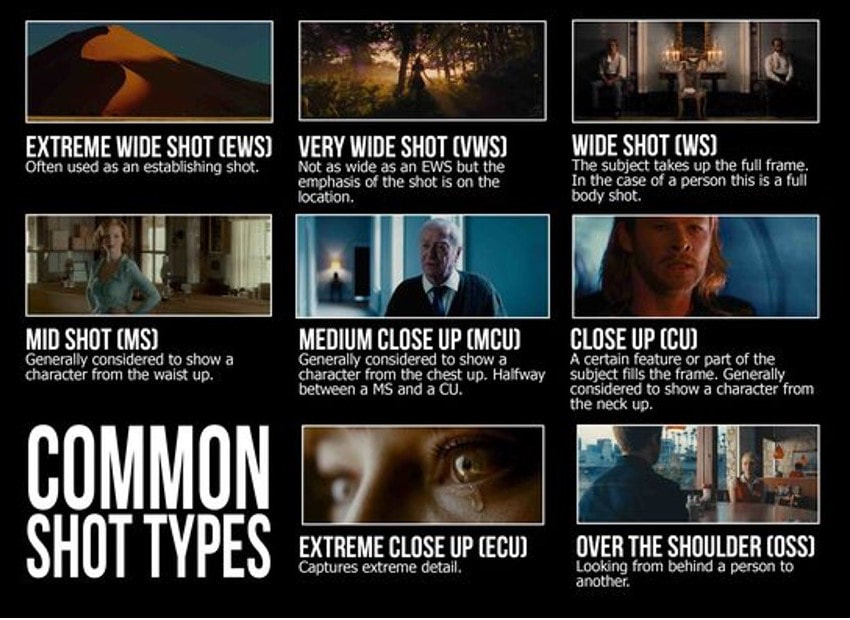
Shot types
Examples of different shot types:
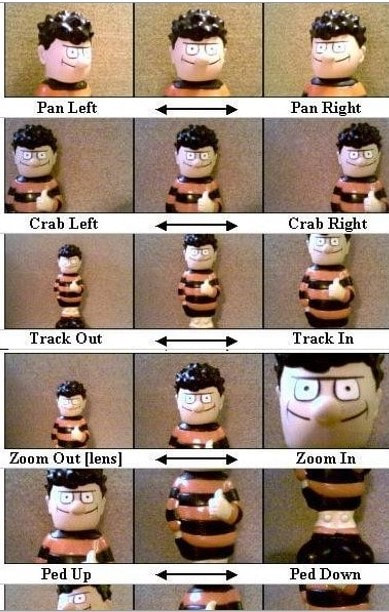
Camera movements
Examples of different camera movements:
My shot types:
extreme wide shot.
very wide shot.
wide shot.

mid shot.

medium close up.

close up.
extreme close up.
over the shoulder.
My camera movements:
pan left to right.
crab left to right.
track out to track in.
zoom out to zoom in.
ped up to down.
tilt up.
tilt down.
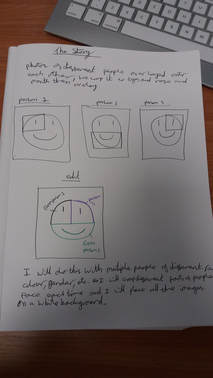
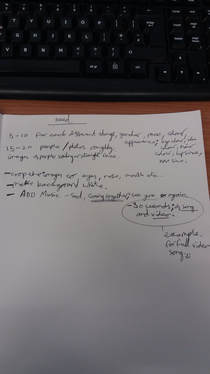
The story.
Notes/ideas.
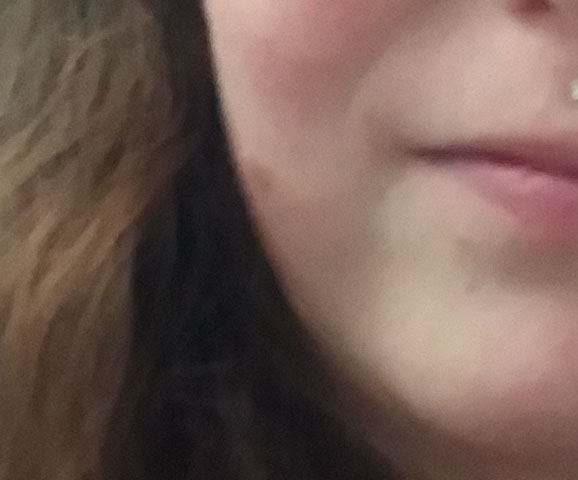
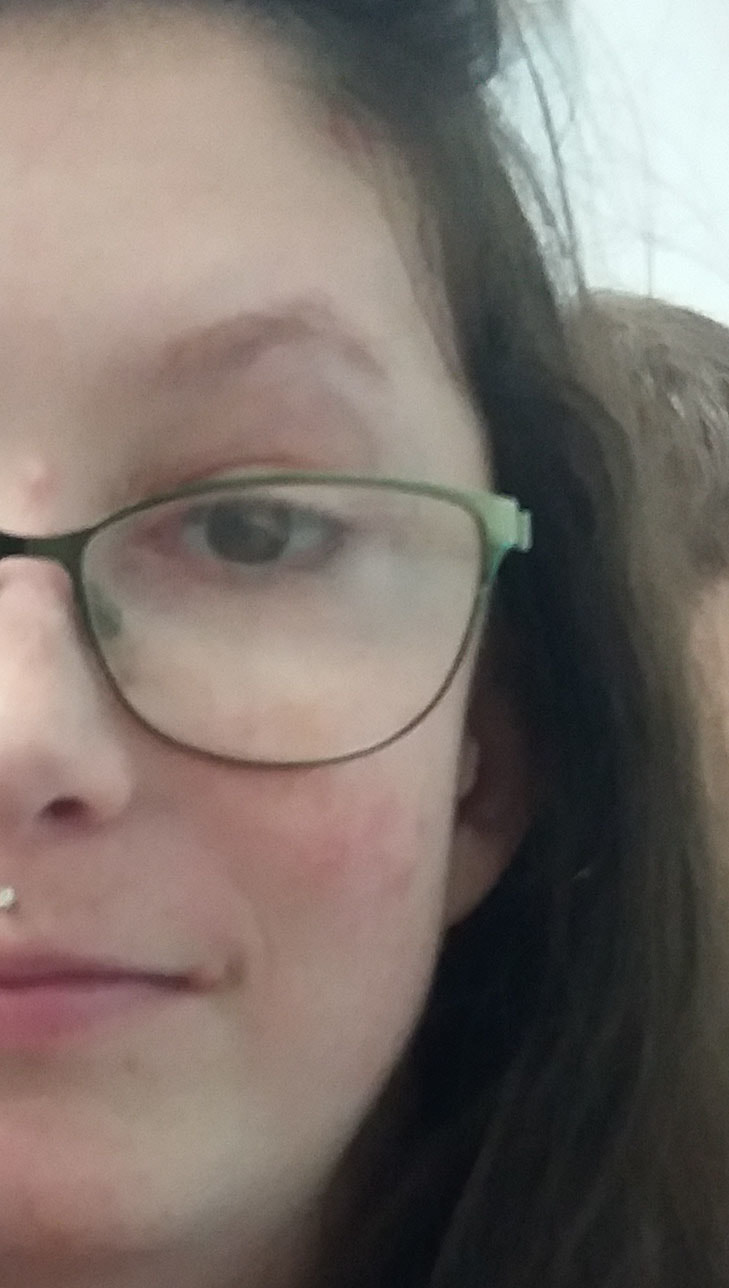
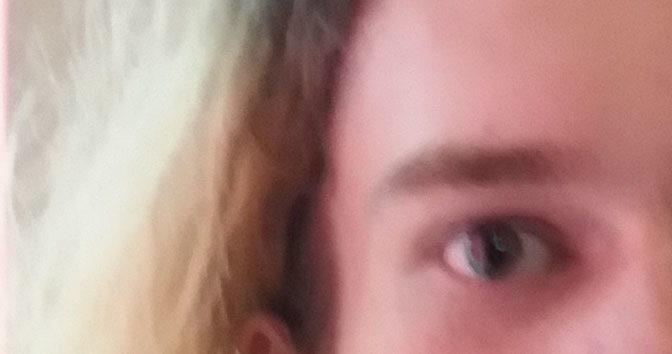
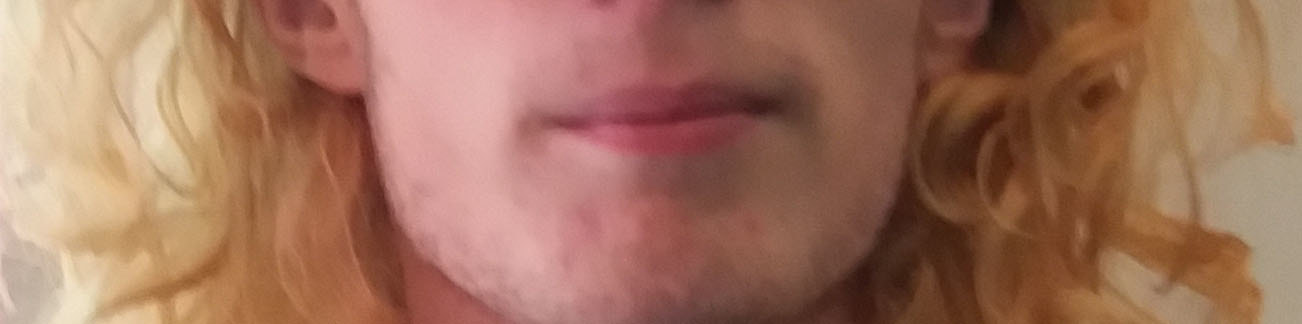
I got my idea of using different people's features to create a face from the music video,Raise your glass by Pink. The clip is at 1:35-1:37. I will also use part of the song I was here by Beyonce.
|
|
|
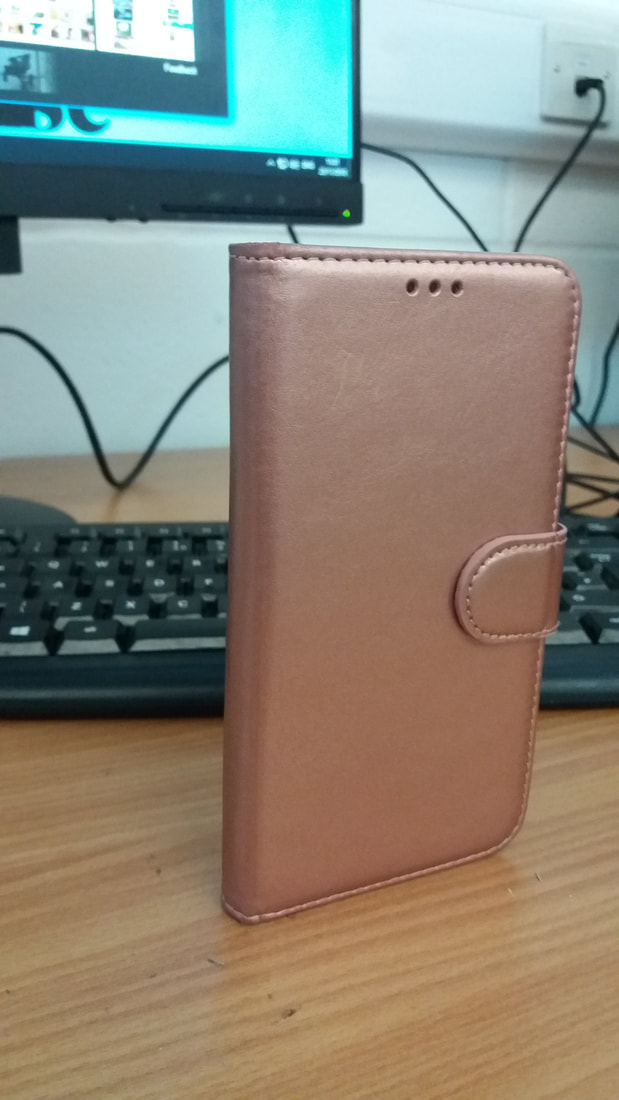
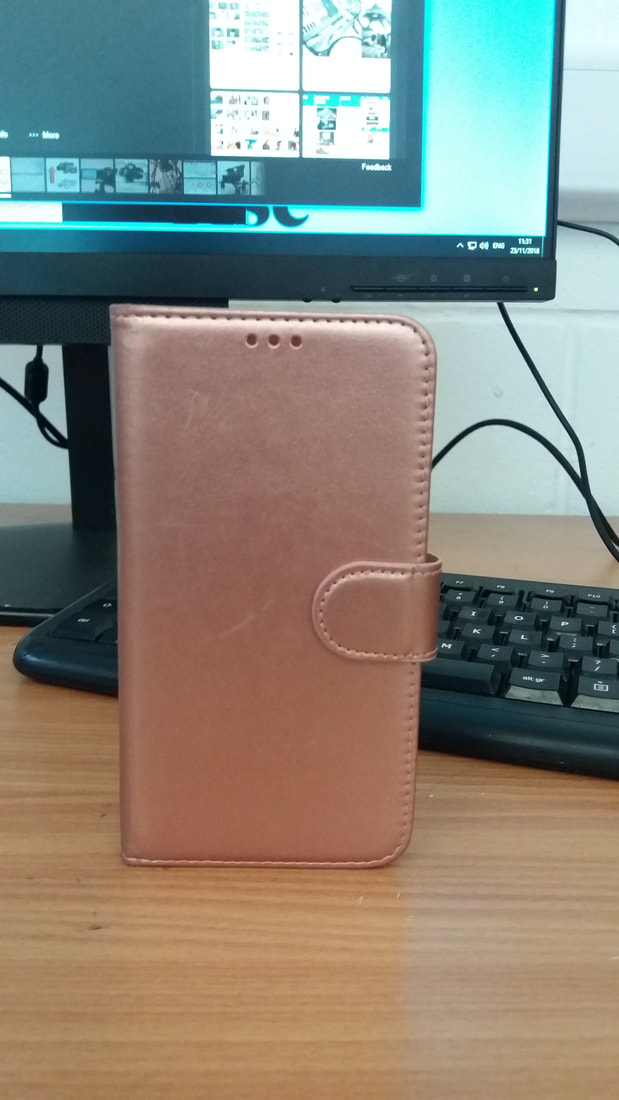
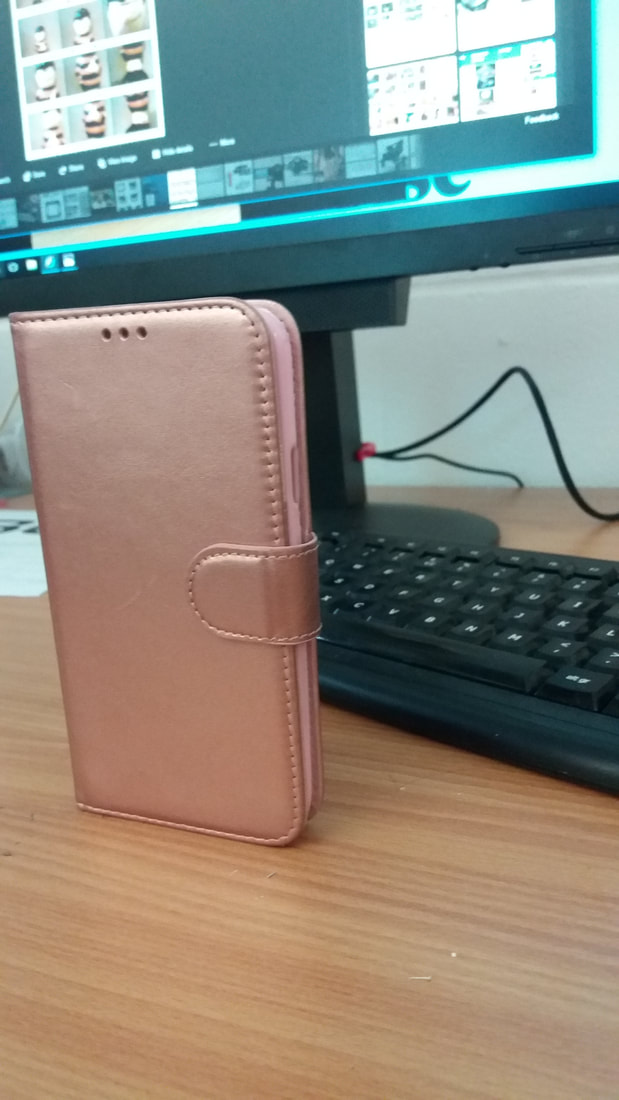
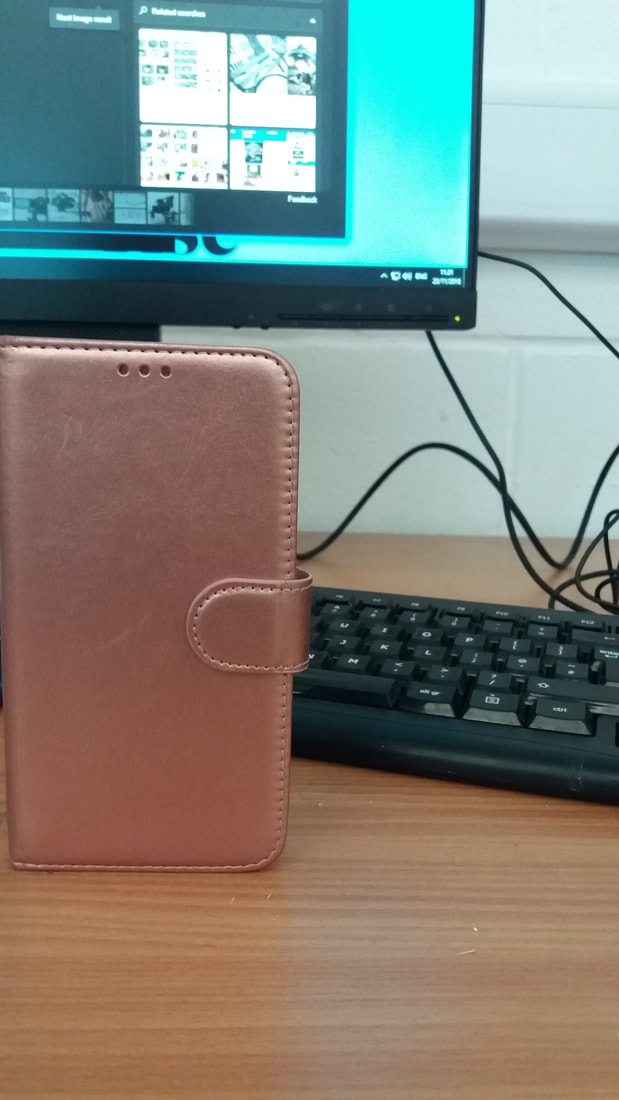
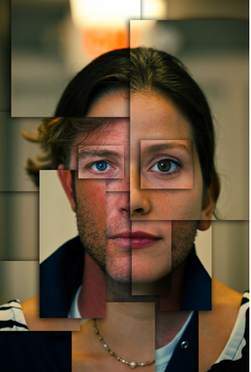
The story photos.
The story photo edit.


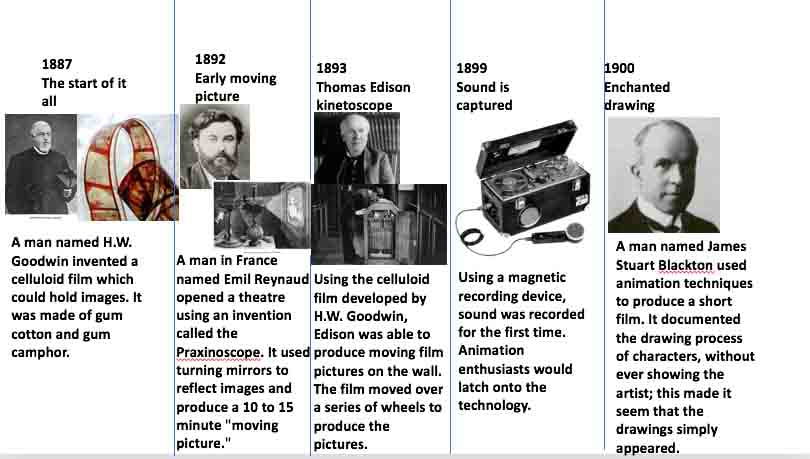
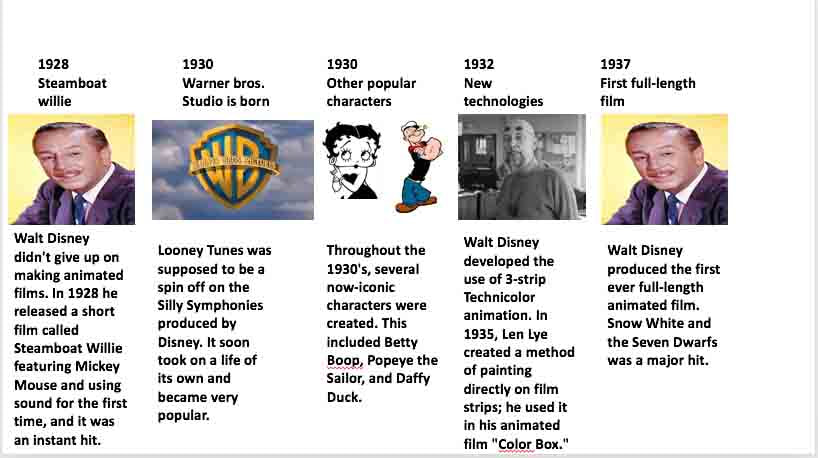
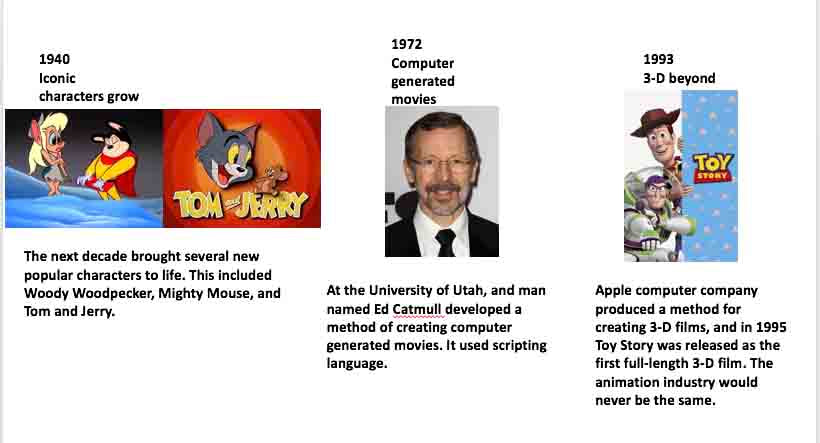
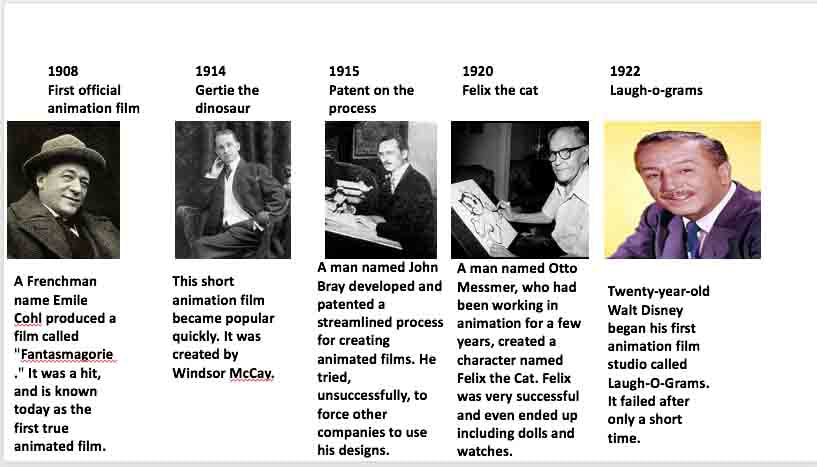
History of 2-D animation.
Essay about Pixar.
Pixar was originally established in 1979. Pixar in its early days produced computer animation sequences for star trek 2: the wrath of khan. Pixar initially sold high-end computer imaging software and hardware such as Pixar image computer. Steve Jobs bought Pixar for $5 million on Feb 3, 1986. That's equivalent to roughly $10.7 million in 2015. The 1986 Pixar short film "Luxo Jr." was a defining film for the company in many ways, it was the first Pixar film to be nominated for an academy award, in the category of best animated film. Toy story was the first full-length film to be made entirely using CGI. Following its release in 2003, Finding Nemo became the highest-grossing animated film in north America and the first film to out-gross The Lion King (1994) in nearly a decade. Ratatouille broke the record for the biggest debut for an animated film in France, where the film was set. Up was both the first animated and 3D film to open in the Cannes Film Festival. Up is the first Pixar film to be nominated for the best picture category in the academy awards, it was the second animated film to be nominated in that category; the first was beauty and the beast.
I got this information or most of it from en.wikipedia.org/wiki/Pixar
I got this information or most of it from en.wikipedia.org/wiki/Pixar
12 principles of animation.
1. Squash and stretch.
This gives the illusion of weight and volume to a character as they move. This is done by expanding and compressing the characters body.
2. Anticipation.
The anticipation is used to let the audience know that something major action is about to take place. To do this animators will work in smaller actions or two right before the major action to signal that something is coming.
3. Staging.
Staging is a principle in which that every pose and action done by the character should show a clear intention.
4.Straight ahead and pose to pose.
Pose to pose technique involves drawing the key poses that you'd like the character to take first then filling in the transitional poses second.
Straight ahead technique is more nuanced and involves an animator literally crafting one frame after another.
Straight ahead technique is more nuanced and involves an animator literally crafting one frame after another.
5. Follow through and overlapping action.
The follow through principle argues that when a character is in action and stops, everything doesn't stop at the same time. if a character is running and then stops, the main body will stop yet the other parts of the body will keep moving for a bit after.
6. Slow-in and slow-out.
The slow-in and slow-out is another principle to add realism to a characters movements. when characters are performing actions the animators will draw more frames at the start of the action and less frames in the middle and more again in the end of the action to create a slow-in/slow-out effect.
7. Arc.
The arc principle is that almost all the actions in life have a slightly circular motion. When a head turns or an arm moves, rarely it will just thrust straight in and out, often it will have a little curve to it.
8. Secondary action.
A secondary action is an additional action that reinforces and adds more dimension to the main action.
9. Timing.
Timing helps create the illusion that an action is abiding by the laws of physics. By adjusting the timing of the scene the animator can make a scene look either slower and smoother (with more frames) or faster and crisper (with less frames).
10. Exaggeration.
Exaggeration is all about overstating certain movements in a way that helps evoke a point, yet doesn't ruin the believability of the scene.
11. Solid drawings.
This encourages the animators to be mindful of the fact that while forms may be presented in 2D they should strive to look 3D.
12. Appeal.
Not every character should be appealing. but this principle posits that animators should strive to create images that will be interesting and compelling to audiences.
How cell animation works.
Cell animation is creating 2D animation by hand on sheets of transparent plastic called sheets. Each cell features one drawing done by hand with an outline on one side of the plastic and the colour is filed on the other side. The piece of plastic (cell) are placed on to a background and photographed in sequence. Then when it is played back at a speed of 12 or 24 frames they create the idea that it is moving.
How does rotoscoping work.
Rotoscoping in an animation technique where the animators would trace over motion picture footage, frame by frame, when movement and realism is required. Originally, photographs of the motion pictures would be projected onto a glass panel and re drawn by an animator, this projection equipment is called rotoscoping
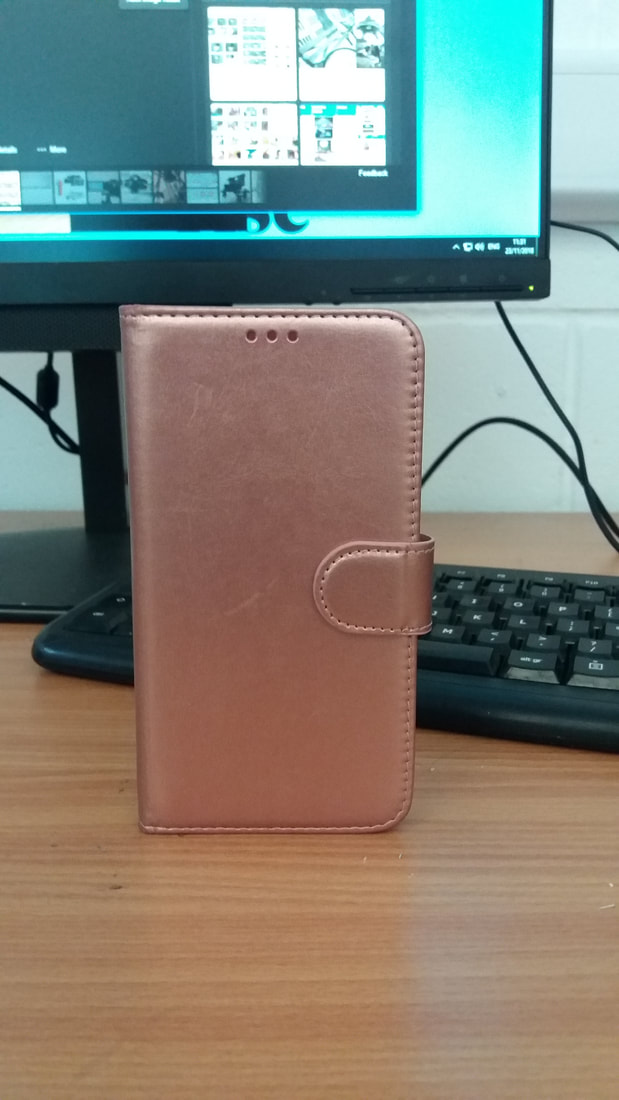
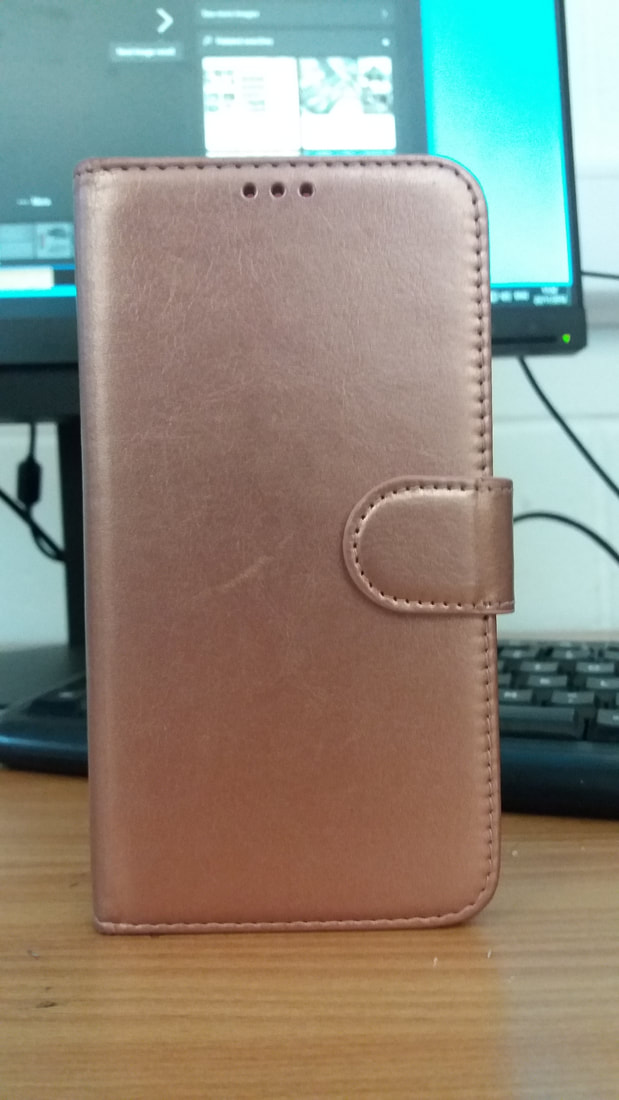
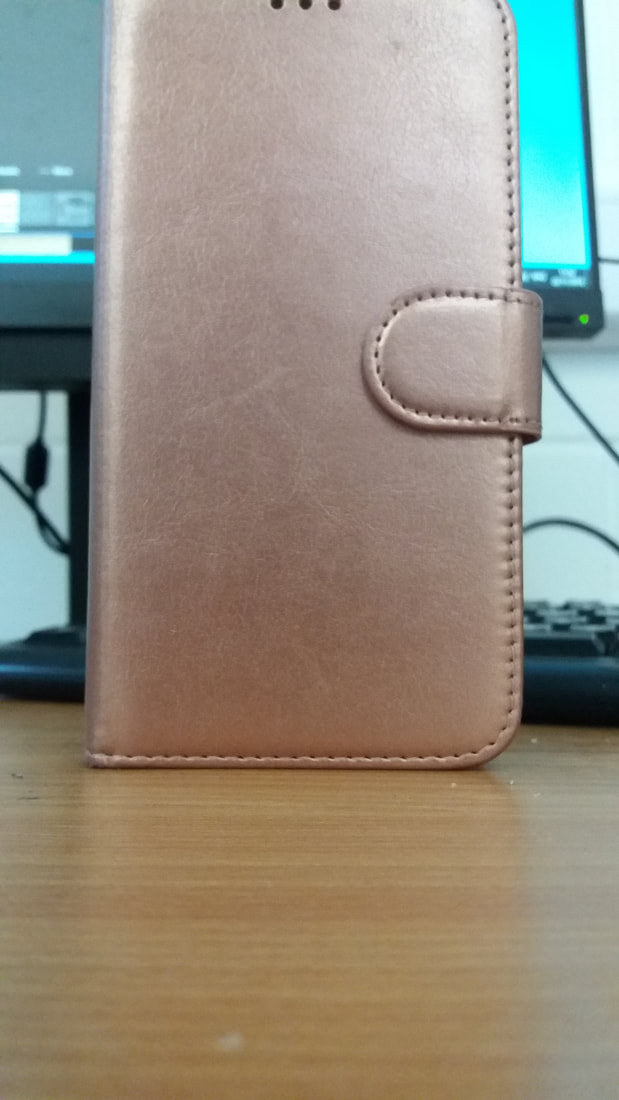
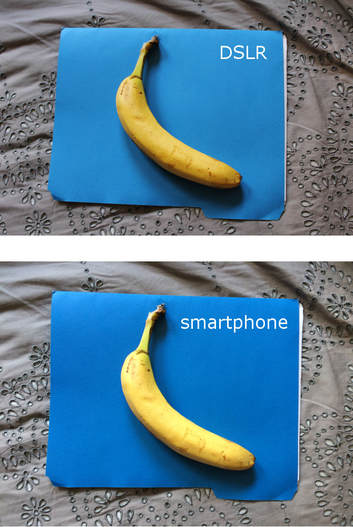
Phone cameras vs. DSLR cameras.
The information below is from www.makeuseof.com/tag/dslr-vs-smartphone-cameras-comparison/
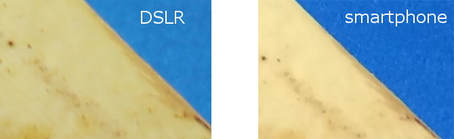
Picture quality.
|
|
The resolution on the unedited photo taken with the DSLR was 5184 x 3456 (of course, there are other options available ) while the iPhone output an image at 3264 x 2448. DSLR cameras capture a range of colour on the banana , whole the mart phones image is more washed out.
Storage.
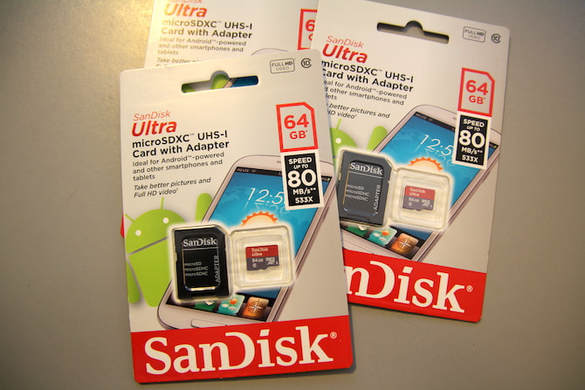
Phones storage is built as a high- capacity model yet if you use your phone as a primary camera the storage will run out faster. DSLR storage is better seen as they use SD cards and they are cheap and readily available. shooting at high resolution , especially when it comes to videos.
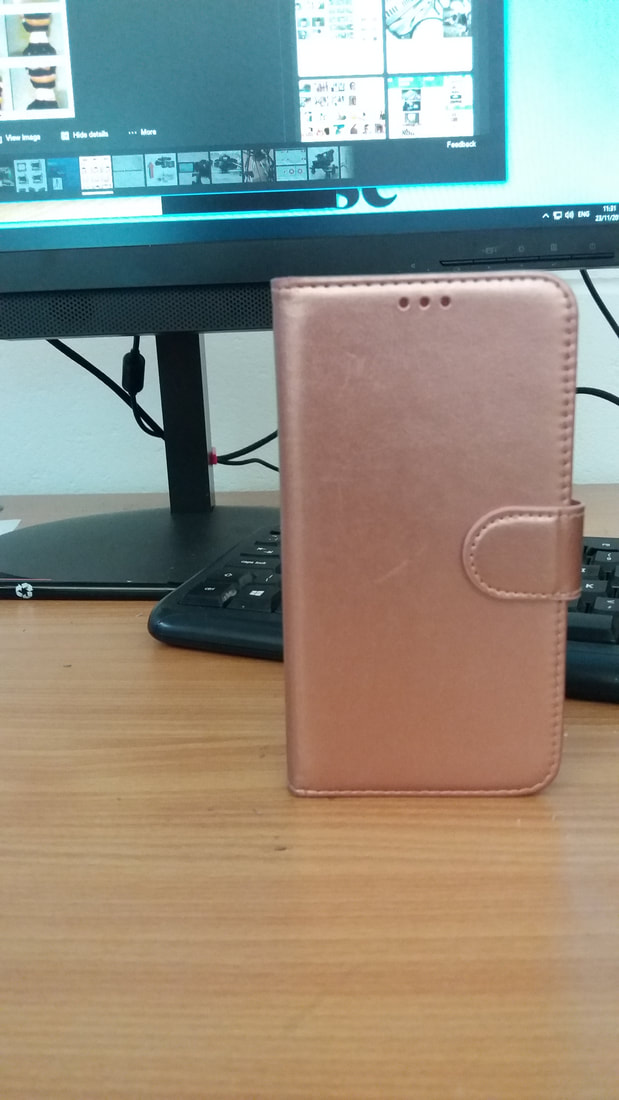
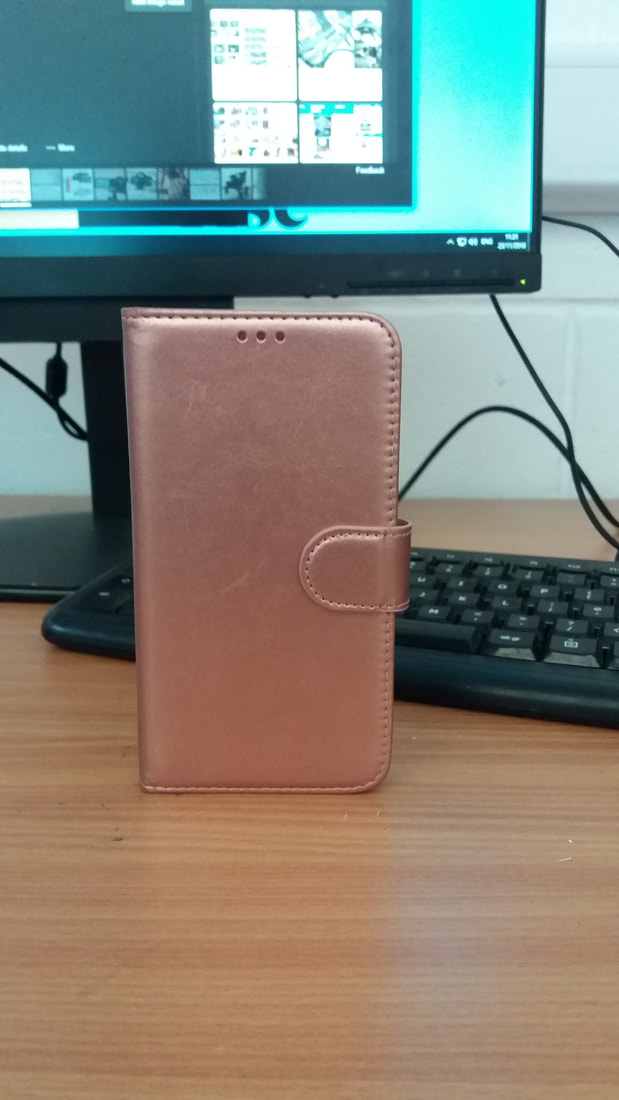
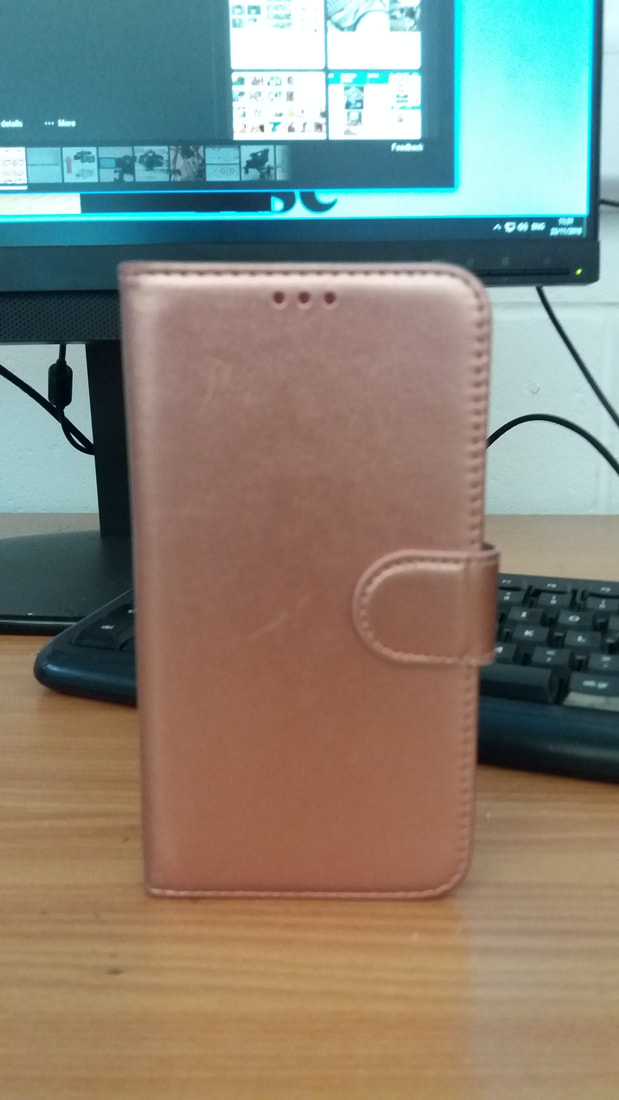
Flexibility and field of depth.

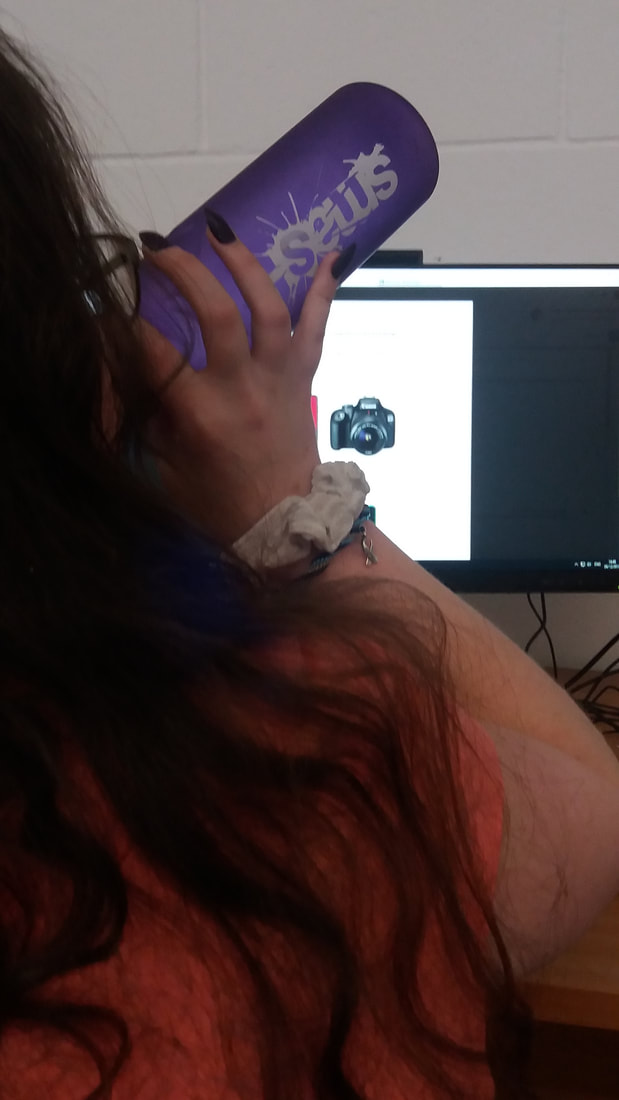
Most smartphones are similar in the auto functions on a DSLR. DSLR's offer a lot of control over focus, which lends itself to some cool techniques. It easy to manipulate depth of field. Using a DSLR is easy to isolate a particular part of the scene. By zooming in and focusing on something close to me, I made the background blurry to direct the viewers attention to my subject. Using a standard smartphone focus just doesn't offer the same capacity; the background blurred a little , but its nowhere near as effective.
Cost.
You probably already have a smartphone. Yet if you want to buy a DSLR you probably won't want to spend thousands of pounds /dollars. $400-$500 will likely be enough to get you an entry-level DSLR from a good brand like Nikon or Canon, perhaps even with a lens or two. Since this is a serious piece kit, its wise to get a protective bag or case to prevents an accidents. You'll also want to factor in a couple of high-capacity SD cards into your budget.
